|
updated May 9, 2016
Amp Cradle
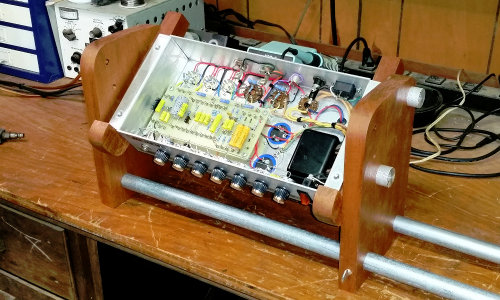 I've used a variety of props for amp chassis... wood blocks, bricks, even paint
cans. If you're like me and build an occassional amp, you probably feel that a
cradle is a luxury that you can do without. People who build or service lot's of
amps know that a cradle is as important as a workbench, or DMM.
So, this spring I find I don't have any amp projects in mind, and now that the
garden is up and running and yard projects have slowed down, I headed back to
the shop for some light duty project. I decided I would finally build a cradle
and quit fumbling for stuff to prop an amp on.
But which one? I wanted something simple, cheap, and easy
to build. After looking at quite a few cradle designs online I realized there
was a wide variety, from primitive to showcase quality. I borrowed some features
from several, mixed in some ideas of my own, and this is what I came up with.
Materials list:
| 2 ea |
|
1 x 6-1/2 x 10 ends |
| 2 ea |
|
1 x 1 x 10 support arms |
| 6 ea |
|
1/4 x 20 brass threaded inserts (drill 5/16
holes) |
| 4 ea |
|
1/4 x 20 x 2-1/2 bolts (cut heads off) |
| 4 ea |
|
cheap knobs |
| 2 ea |
|
1/4 x 20 x 1 thumbscrews |
| 2 ea |
|
26" 3/4 EMT (drill 15/16 holes) |
I used scrap mahogany from my shop. If I had to buy
dimensional lumber I'd use 2 x 8 and 1 x 2 material. I had all materials on hand
except the thumbscrews. Oh well, I needed to run to Lowe's anyhow.
This cradle will accommodate most chassis that are 0" to
24" long. If I need longer, I'll just cut two more pieces of EMT. The arms are
adjustable with four posi-stop holes indexed at 0°, 20°, 40°, and 60°. I suppose
the downside is not having continuously adjustable tilt. The upside is never
having to worry about the arms slipping and accidently cracking your tubes.
The left side is pinned to the rails with recessed screws through the bottom.
The right side slides on the rails and is locked into position with two
thumbscrews. The support arms are attached with 1/4 x 20 bolts and threaded
inserts. I cut the heads off the bolts and used four cheap knobs for easy
turning. All you have to do is just snug them to hold the arms securely.
I applied one coat of clear wipe-on poly just to give the mahogany a wet look.
It took longer to round up all the scraps and hardware than it did to completely
build this. I guess now I'll have to come up with another project. Probably wait
until winter though.
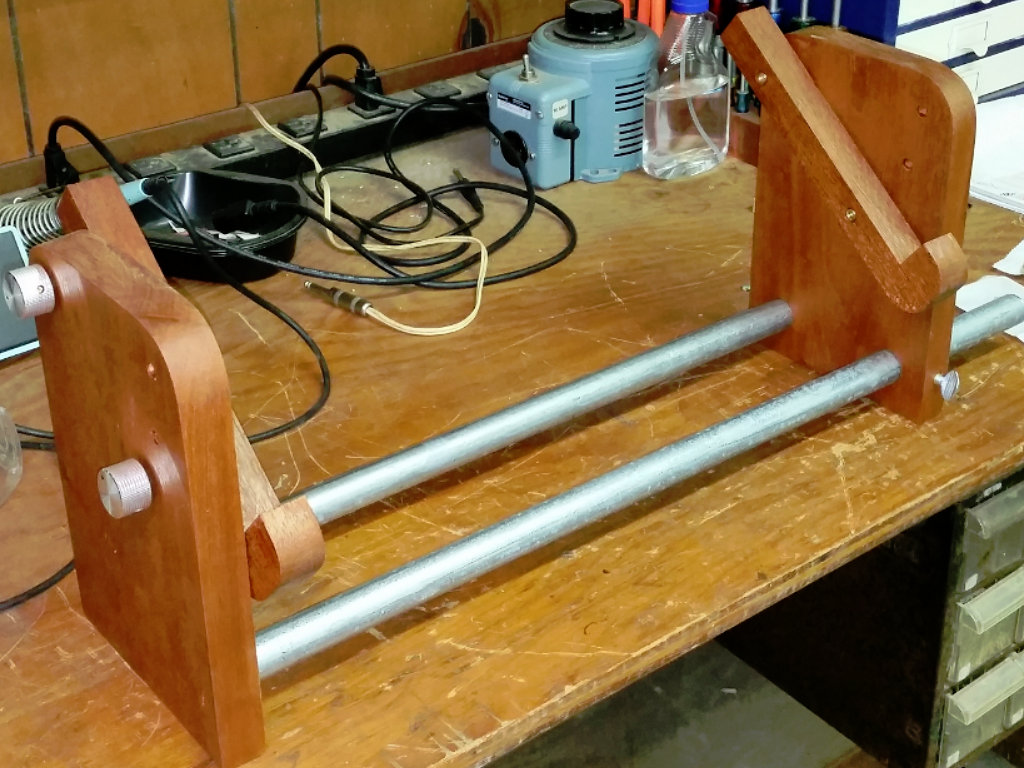
This simple design is very functional and sturdy. It's also
quick and easy to build.
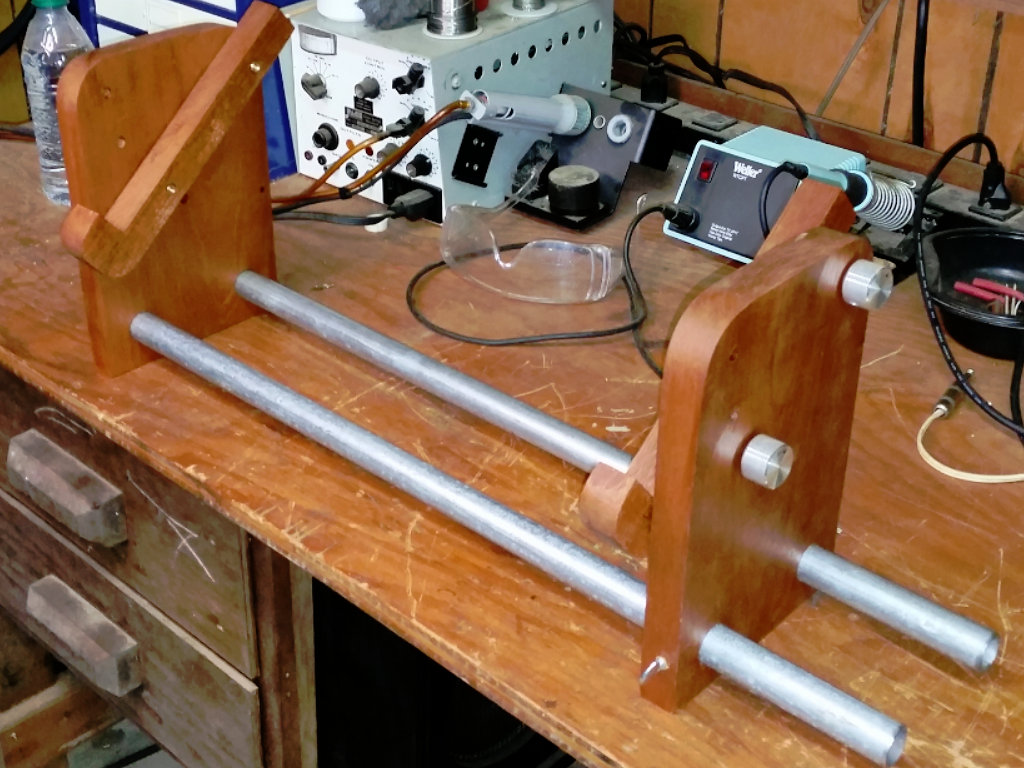
Thumbscrews and knobs lock everything securely in place.
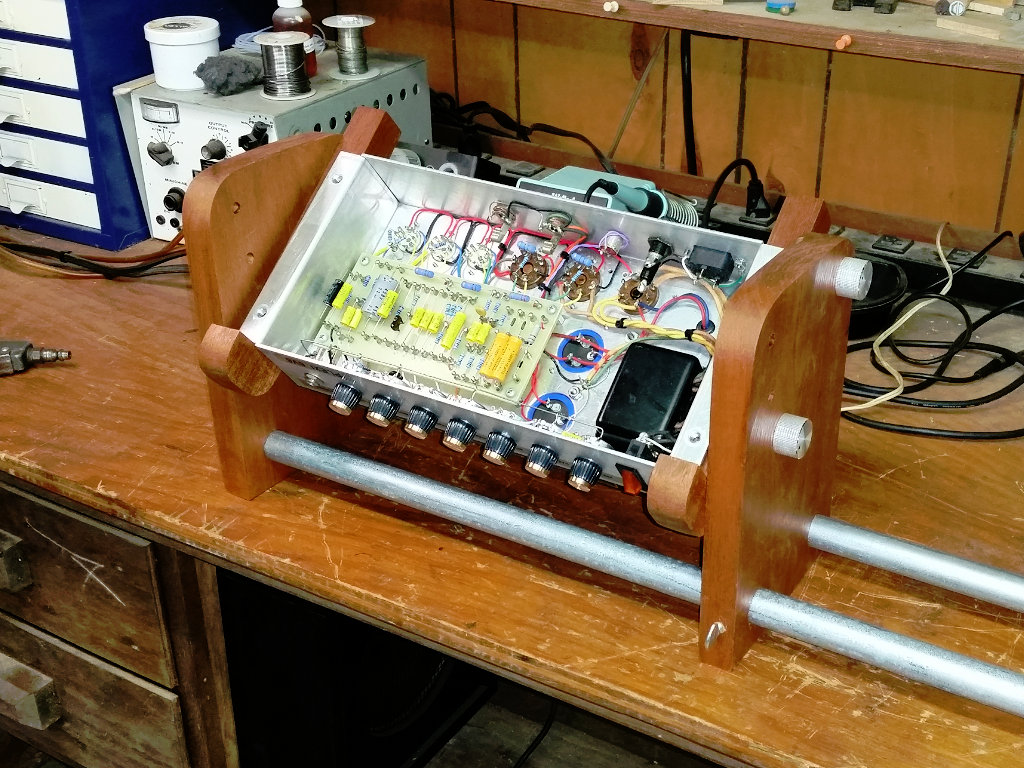
Four posi-lock tilt positions provide easy access for chassis
work.
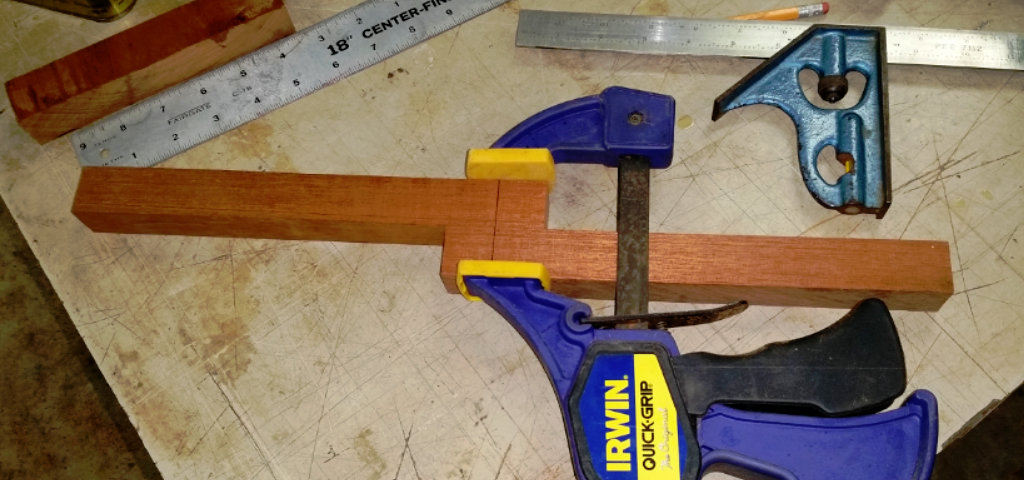
Cut the support arms to 10" length and put a pencil line 1"
from one end of both arms. Now glue the two pieces together with the pencil
lines aligned. When glue is dry, cut on the pencil line to create the two
support arms.
Watch this short video to see how easy it
is to properly install the brass threaded inserts...
https://www.youtube.com/watch?v=tIhEqoKE8Dc
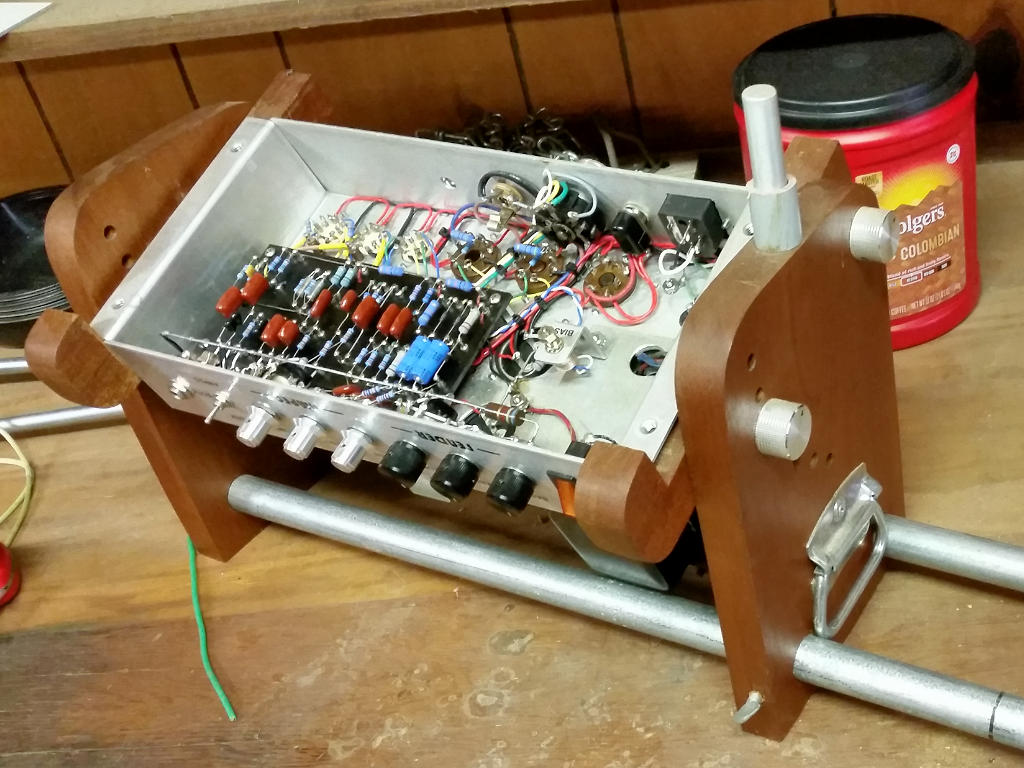
I made some useful mods to
the cradle. I added two more posi-lock tilt positions and added handles to make
it easy to move the cradle even when loaded with a heavy chassis. And the
post on top of the sliding upright holds a standard roll of solder. The 1/2"
post is attached using a 1/4-20 threaded insert and can be removed easily if
needed. The pvc pipe spacer holds the solder roll up a bit to make it turn
easier.
So, a versatile amp cradle sure makes it easy to work on an amp. But what
about working on circuit boards?
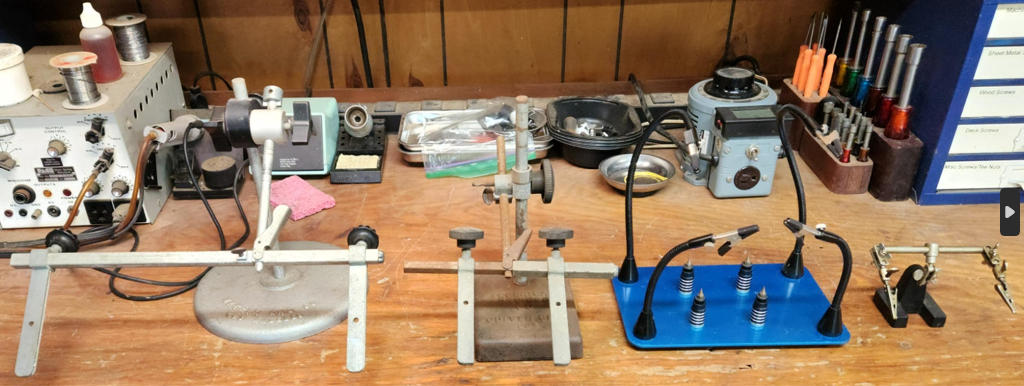
I've had these PCB
vises for over 30 years. Not so long on the little gator clip helping hands.
These come in very handy when building a turret board or anytime you need a
third hand.
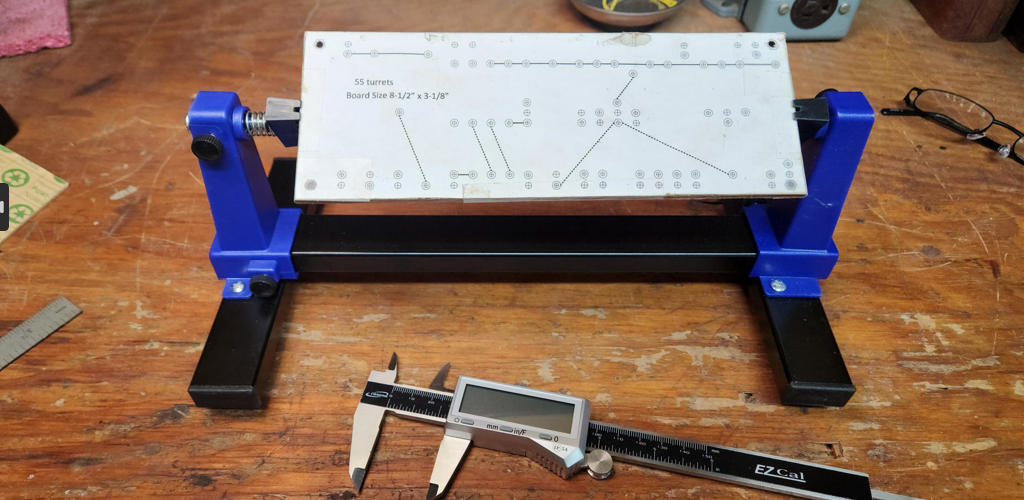
I
recently discovered this neat little
PCB vise on Amazon. And for less than $15 I had to get one. It can hold
a board 8-1/2" long and 1/8" thick, 1/16" thick, or cheap thin boards.
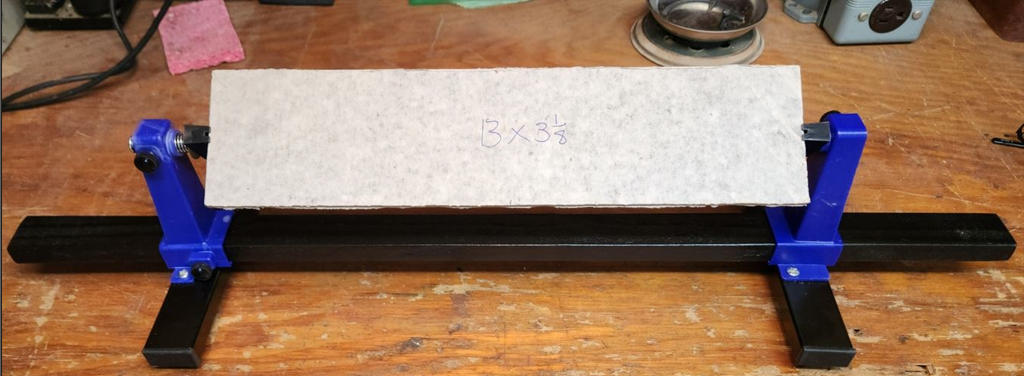
I replaced the
stock bar with a longer wooden rail in order to handle longer boards. The
rail needs to be 1-3/16" x 5/8" and 4-1/4" longer that the longest board you
will work on. My modified vise will handle a 22" long board. If I ever need
more length I'll just go back to the wood pile.
Return to Index
|  I've used a variety of props for amp chassis... wood blocks, bricks, even paint
cans. If you're like me and build an occassional amp, you probably feel that a
cradle is a luxury that you can do without. People who build or service lot's of
amps know that a cradle is as important as a workbench, or DMM.


