|
November 09, 2012
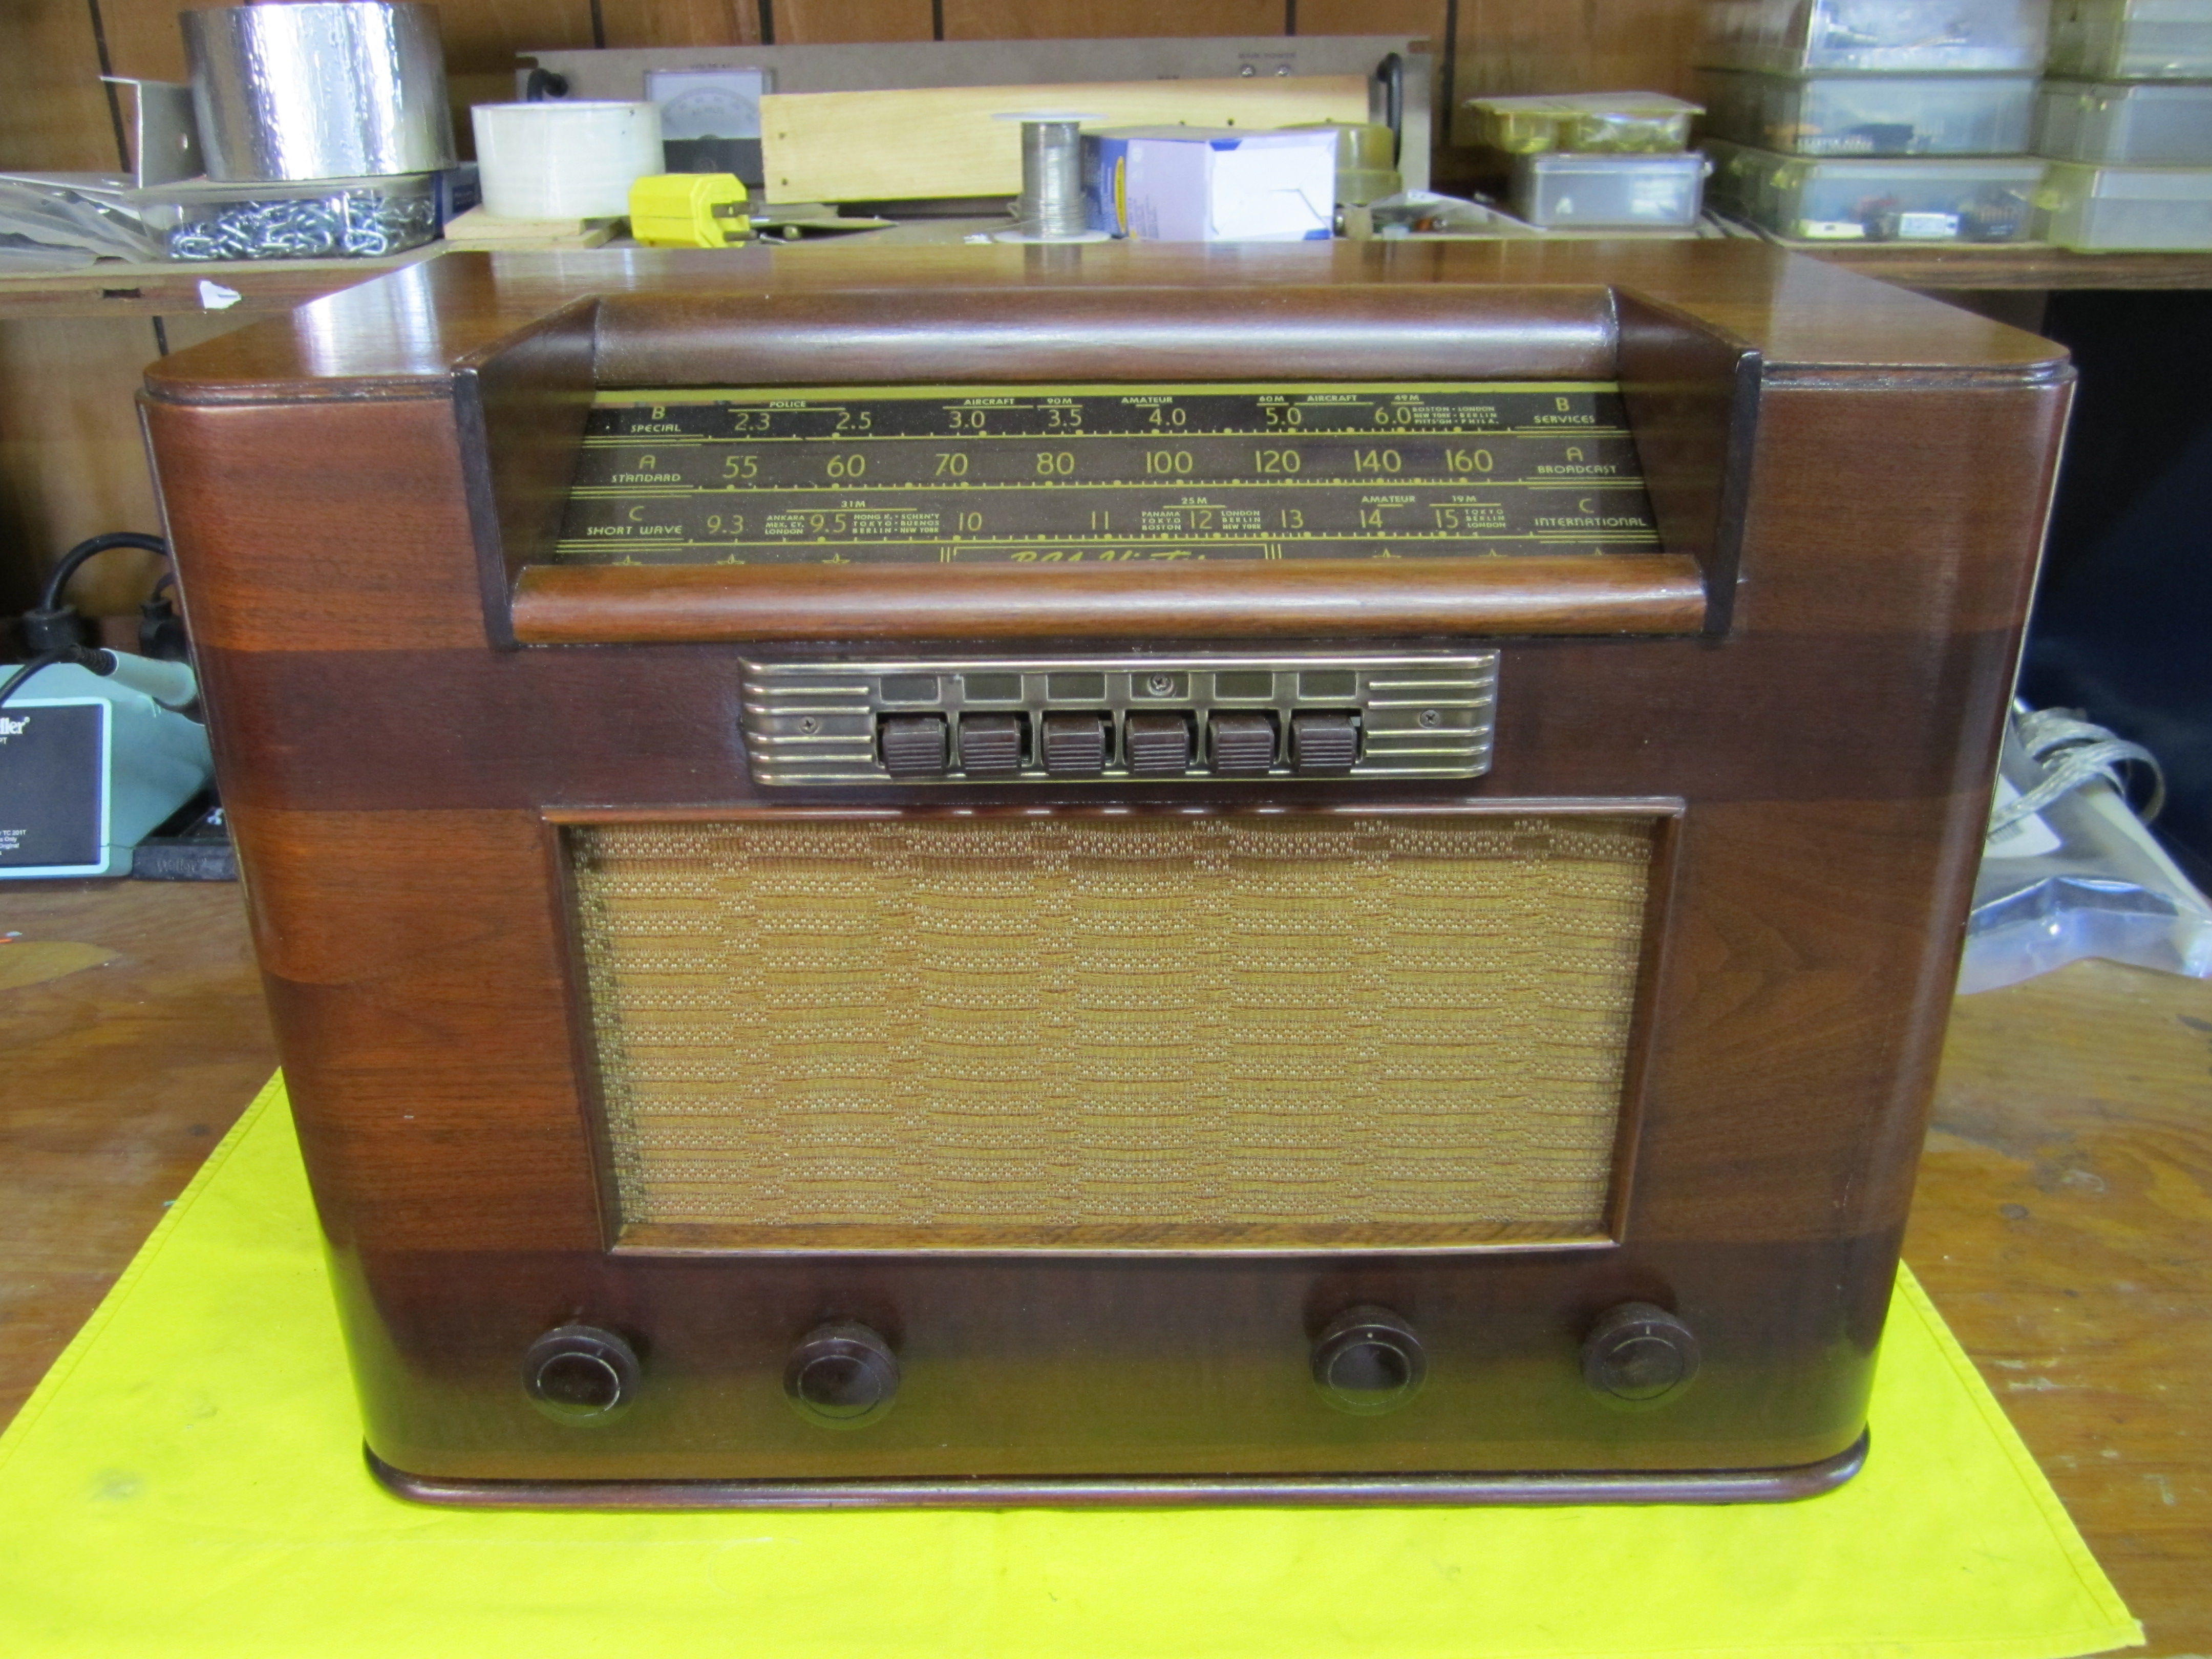
1941 RCA Victor Model 28T Conversion to
Ampeg J12B Jet
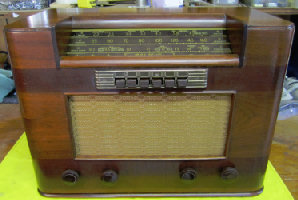
I recently rediscovered this old radio while cleaning out
my mom's attic. I had put it there in the late '60s and had forgotten about it.
While attending tech school during '68 and '69, I also worked part time in a
small radio and tv shop. I had access to many antiques such as this and made
some good side money restoring them. This is one that I never got around to
fixing. It was soon forgotten when I moved out of the house and began my long
career in RADAR.
The Model 28T radio is a 3 band AM superhet from 1941. It
was probably an easy fix when I originally got it, but after 45 years in a
blistering attic, the finish was shot and every wire inside was crumbling. I
pulled all the tubes and carefully turned it on to see if the PT was alive. It
was! But the PT leads were crumbling too. I decided to pull the PT to see if I
could replace all the leads. After a day of careful tinkering, the PT had a new
set of teflon insulated leads and was safe. At this point, I deemed the radio a
good candidate for a small guitar amp and proceeded to strip the chassis. Wish I
had taken some 'before' pics.
But what to build? I wanted something with 4 knobs and it
had to be all octal tubes. And I wanted a warm sounding amp. Ampeg should have
something. The Jet J12B came the closest but it only had volume, tone, and
speed. I imagined adding an intensity control and wala, there it is!
It's kinda sad to see the old radio die, but unlike Harry,
I was never into AM rock. I've finally got a nice little amp that can live in
the parlor. It has a very typical warm Ampeg sound. It's about 12 watts and is
capable of roaring when plugged into a big cab. It really likes my Big Ben 15"
speaker.
This will probably be a wrap for me. I'm slipping back to
my acoustic days. But it's been a fun 10 years. And this is a fitting project to
end on, tying a real and tangible part of my youth to the old man of today. What
a ride!
Enjoy,
Steve Luckey
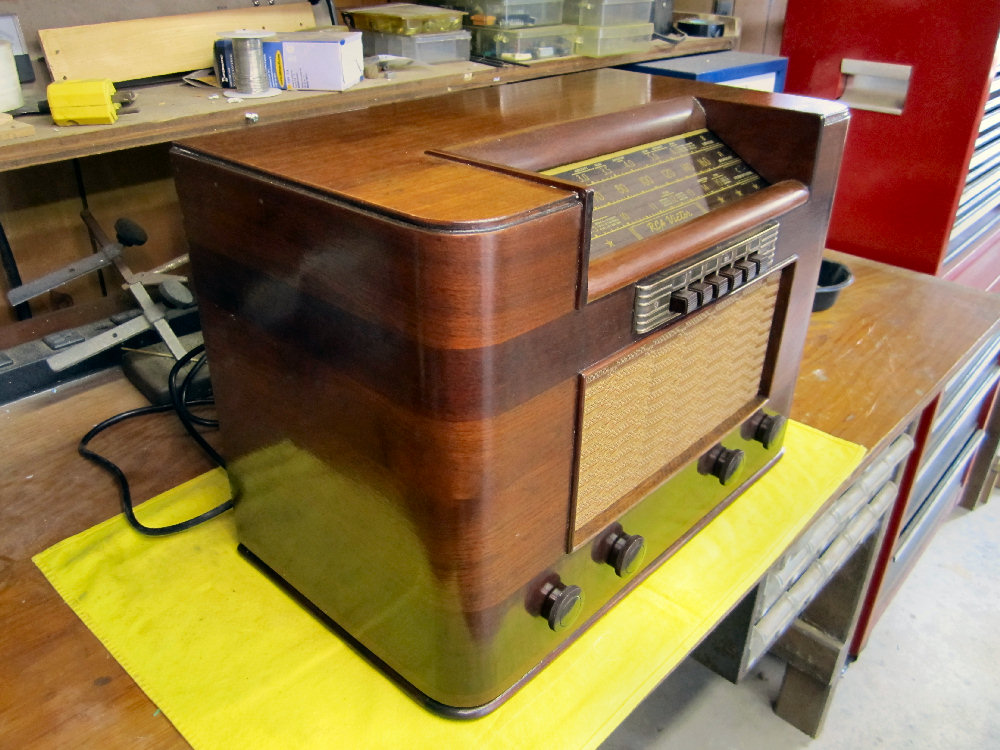
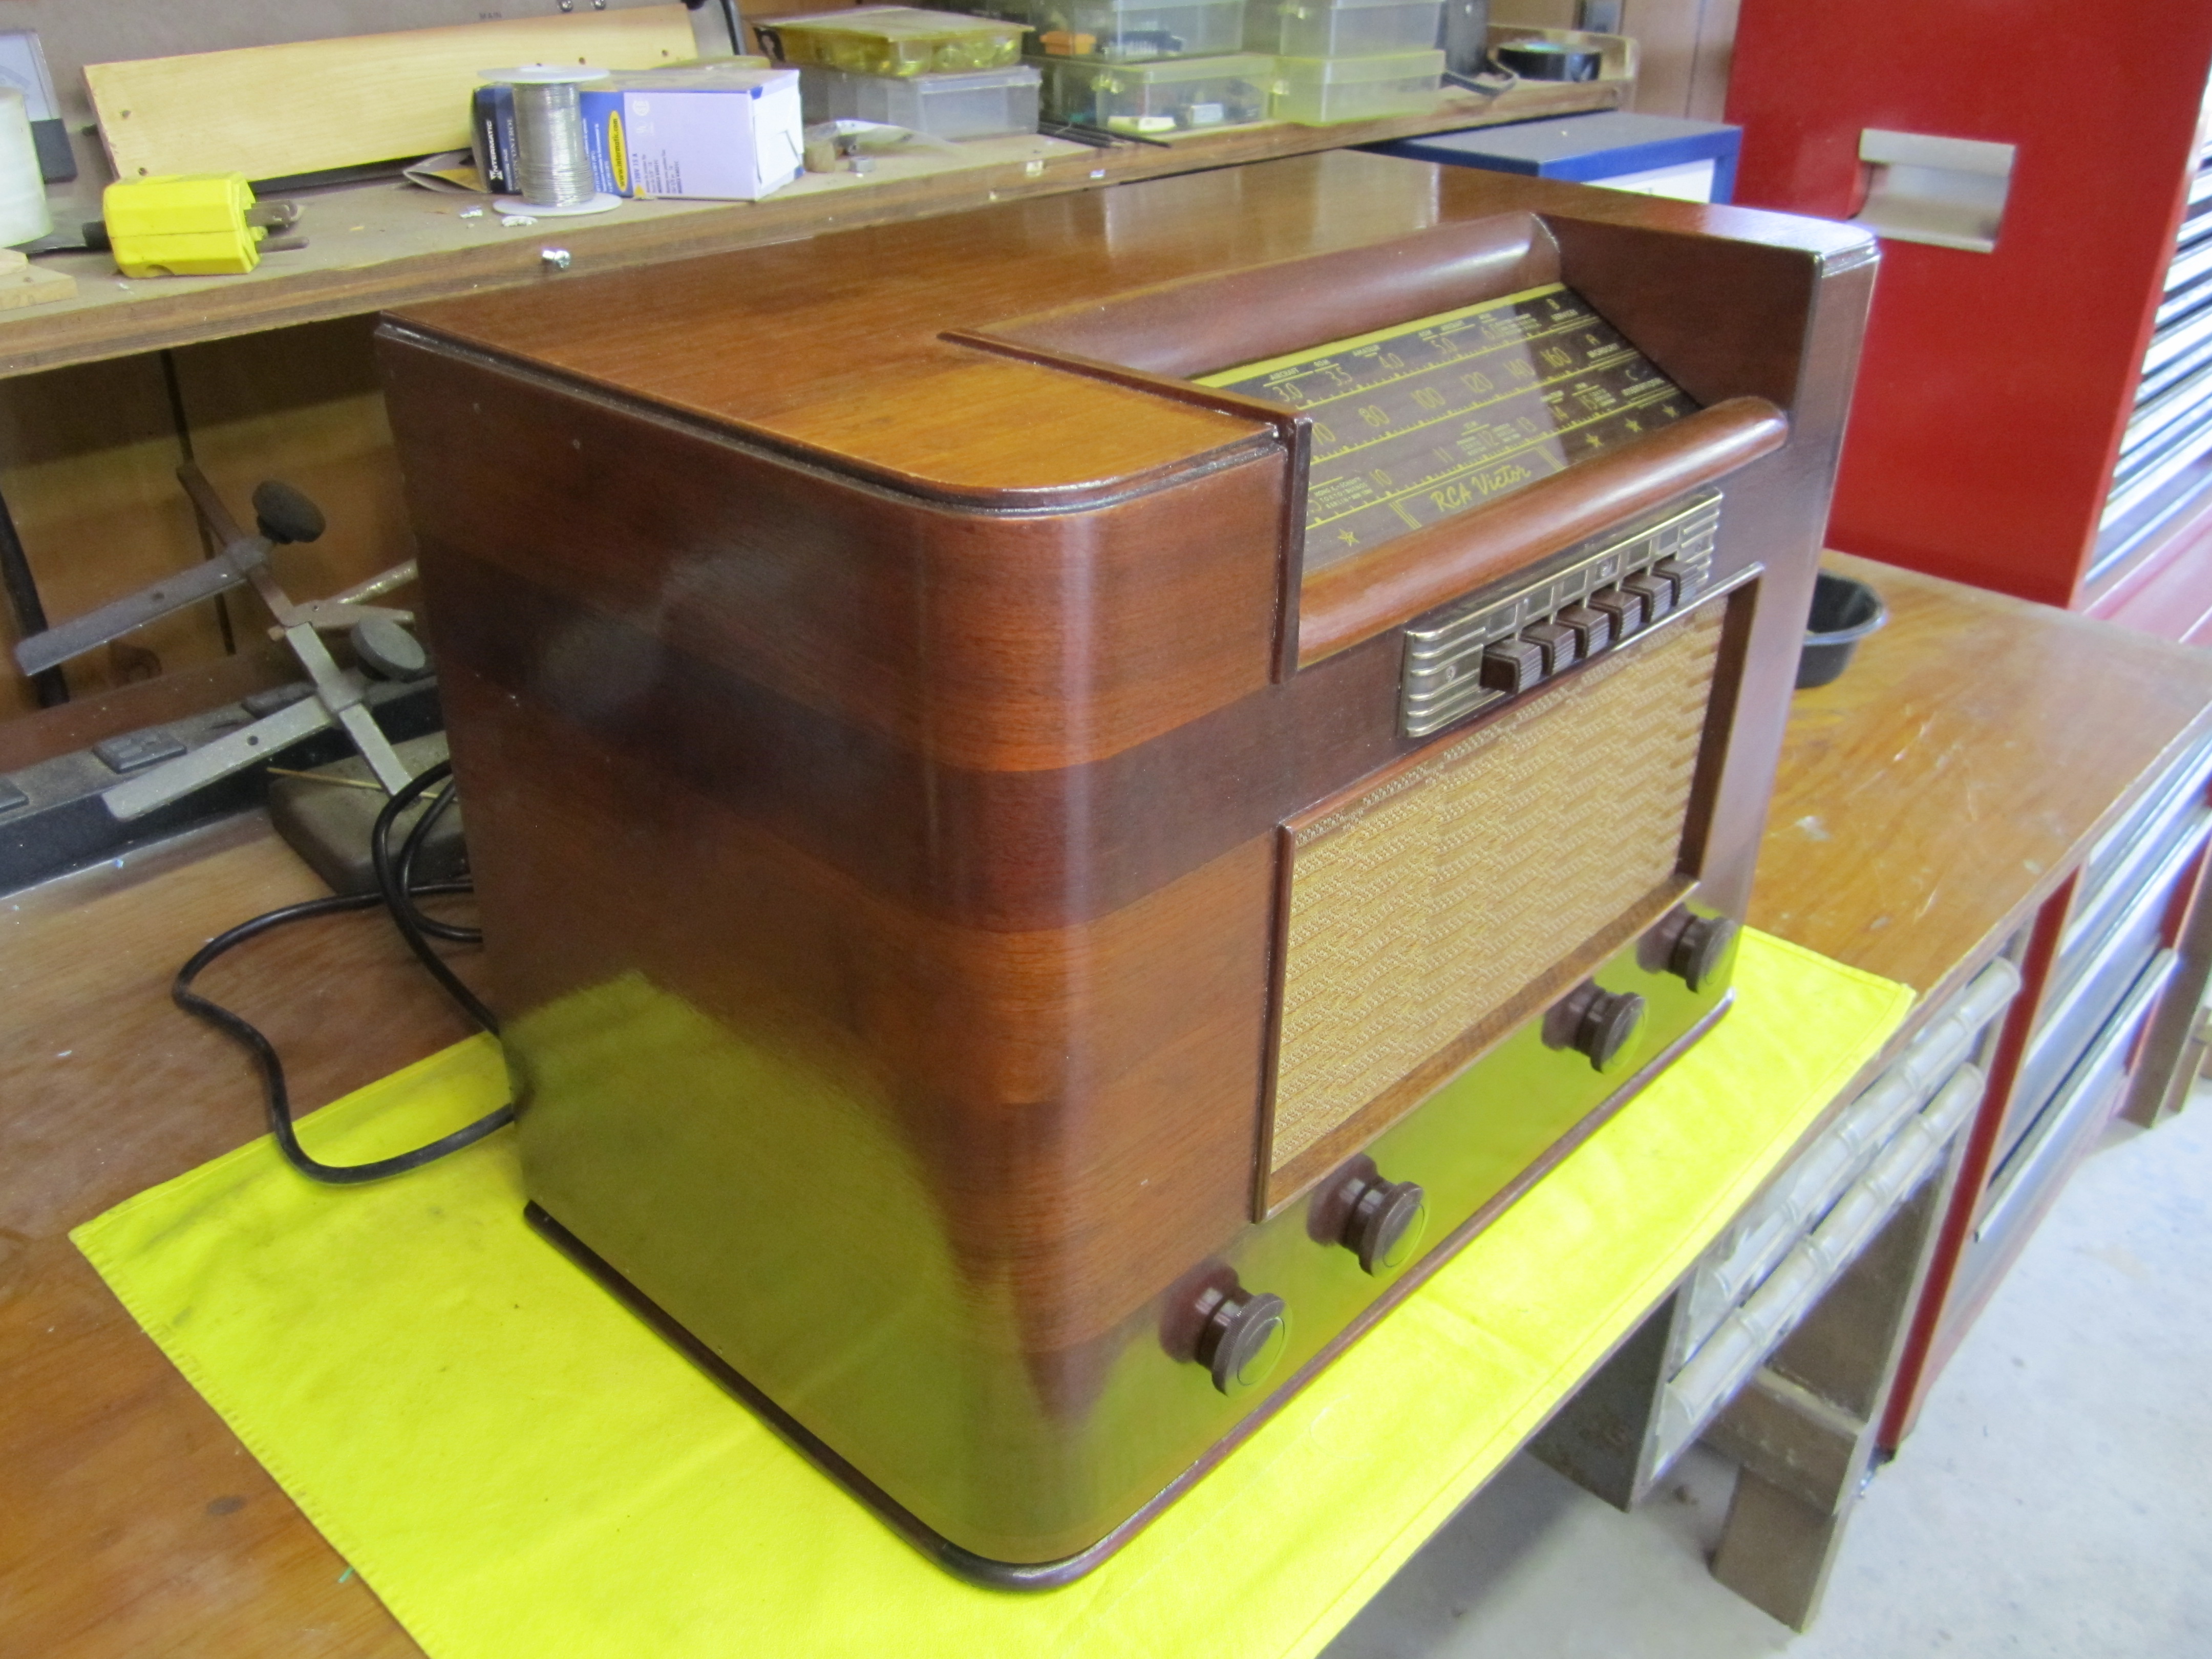
The old cabinet really suffered as much
as the electronics. Luckily I had stripped the old finish before storing it
away in the attic. I don't think the cabinet would have fared well under
chemical strippers. The joints were mostly intact. After a good cleaning, I
gave it two long drinks of Watco Danish oil. Two weeks later I was rubbing
three coats of Minwax Wipe-On Poly for protection and some extra sheen. The
baffle and grill cloth were long gone but I found some suitable grill cloth
as well as a missing knob at a radio restoration supply site.
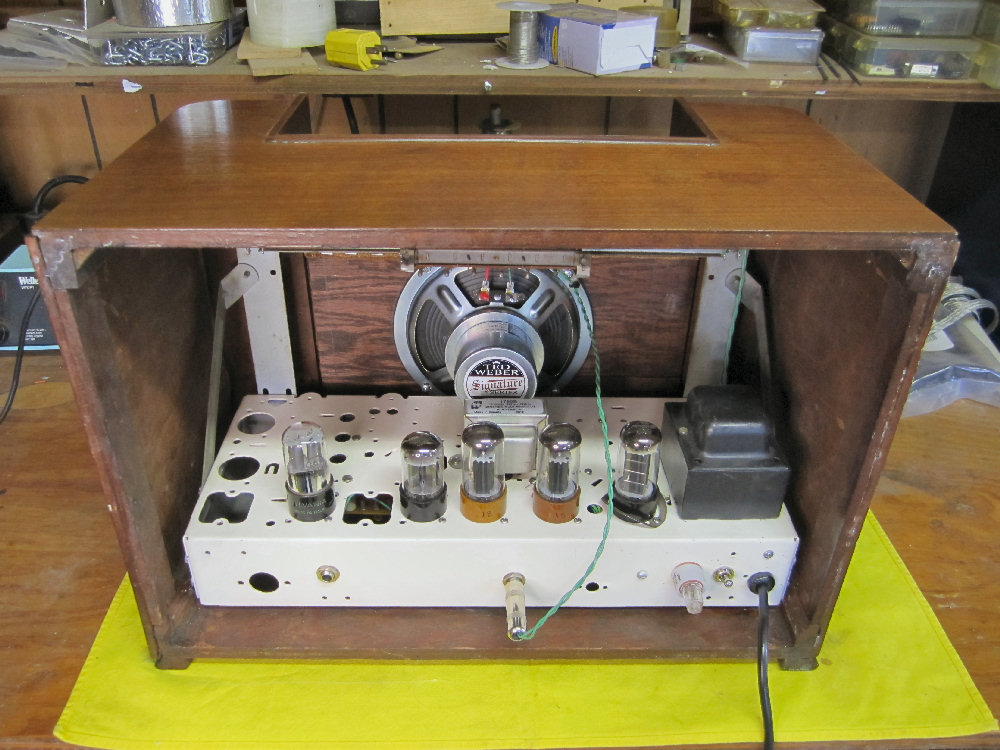
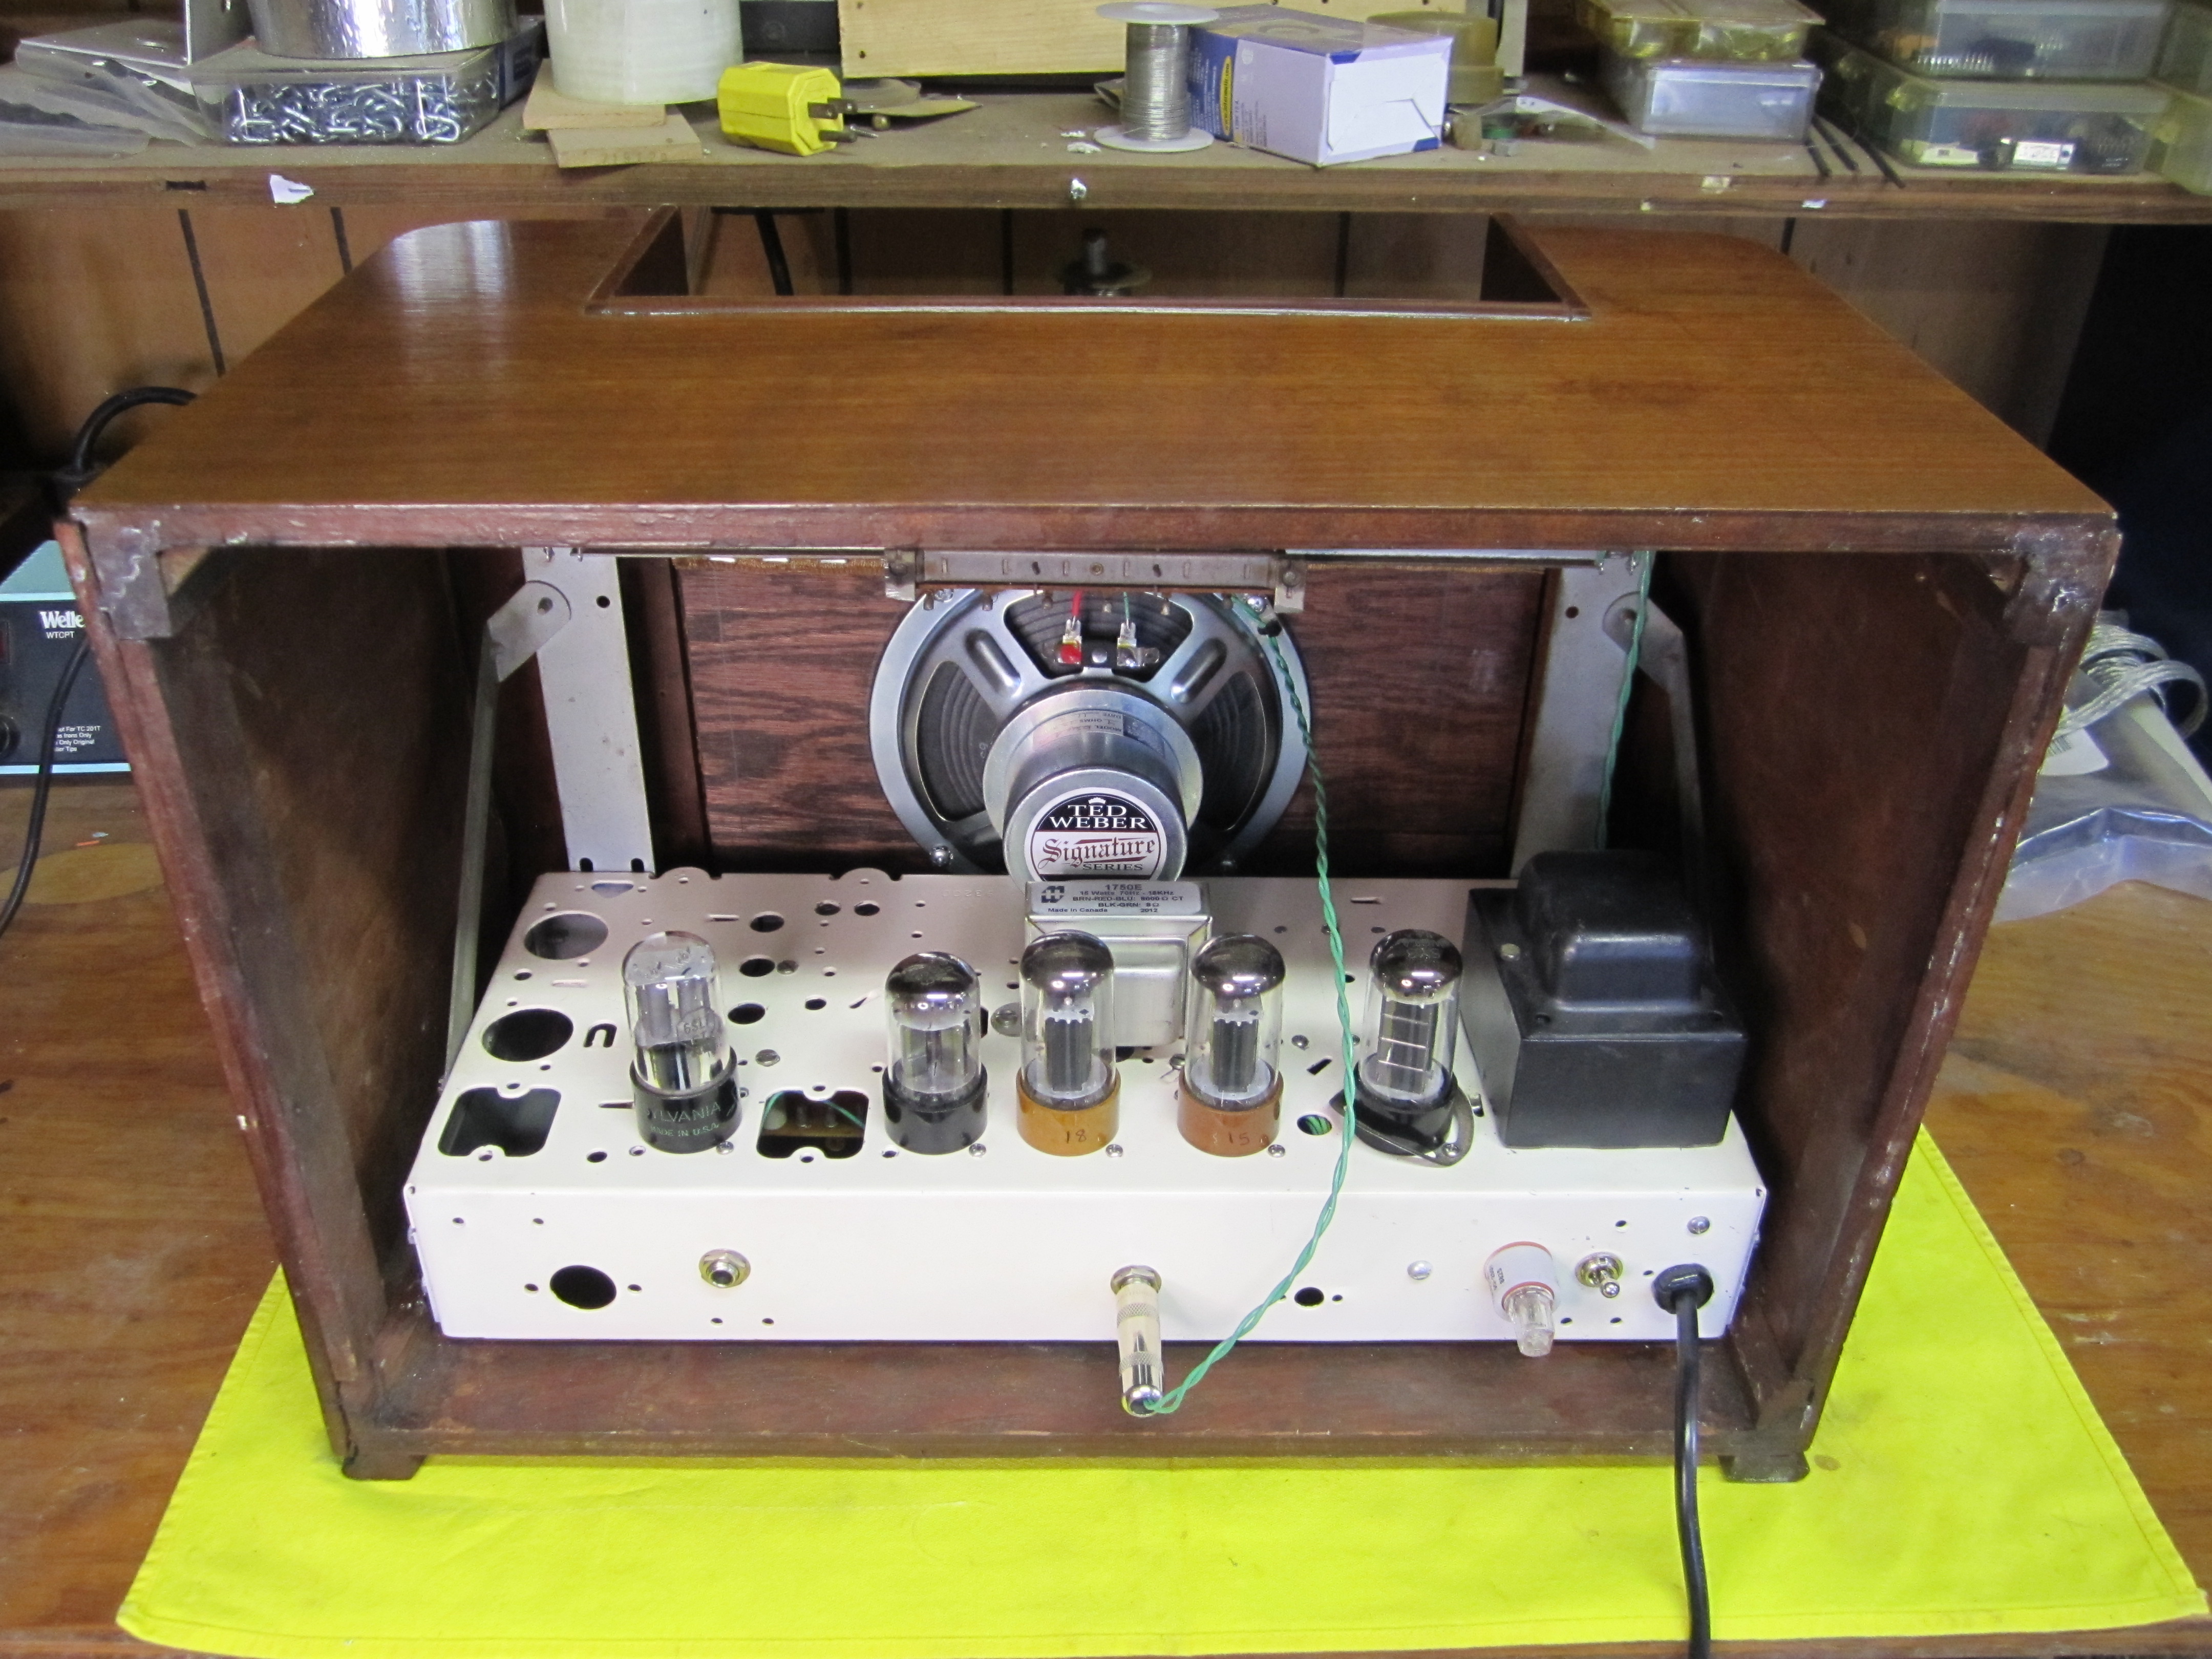
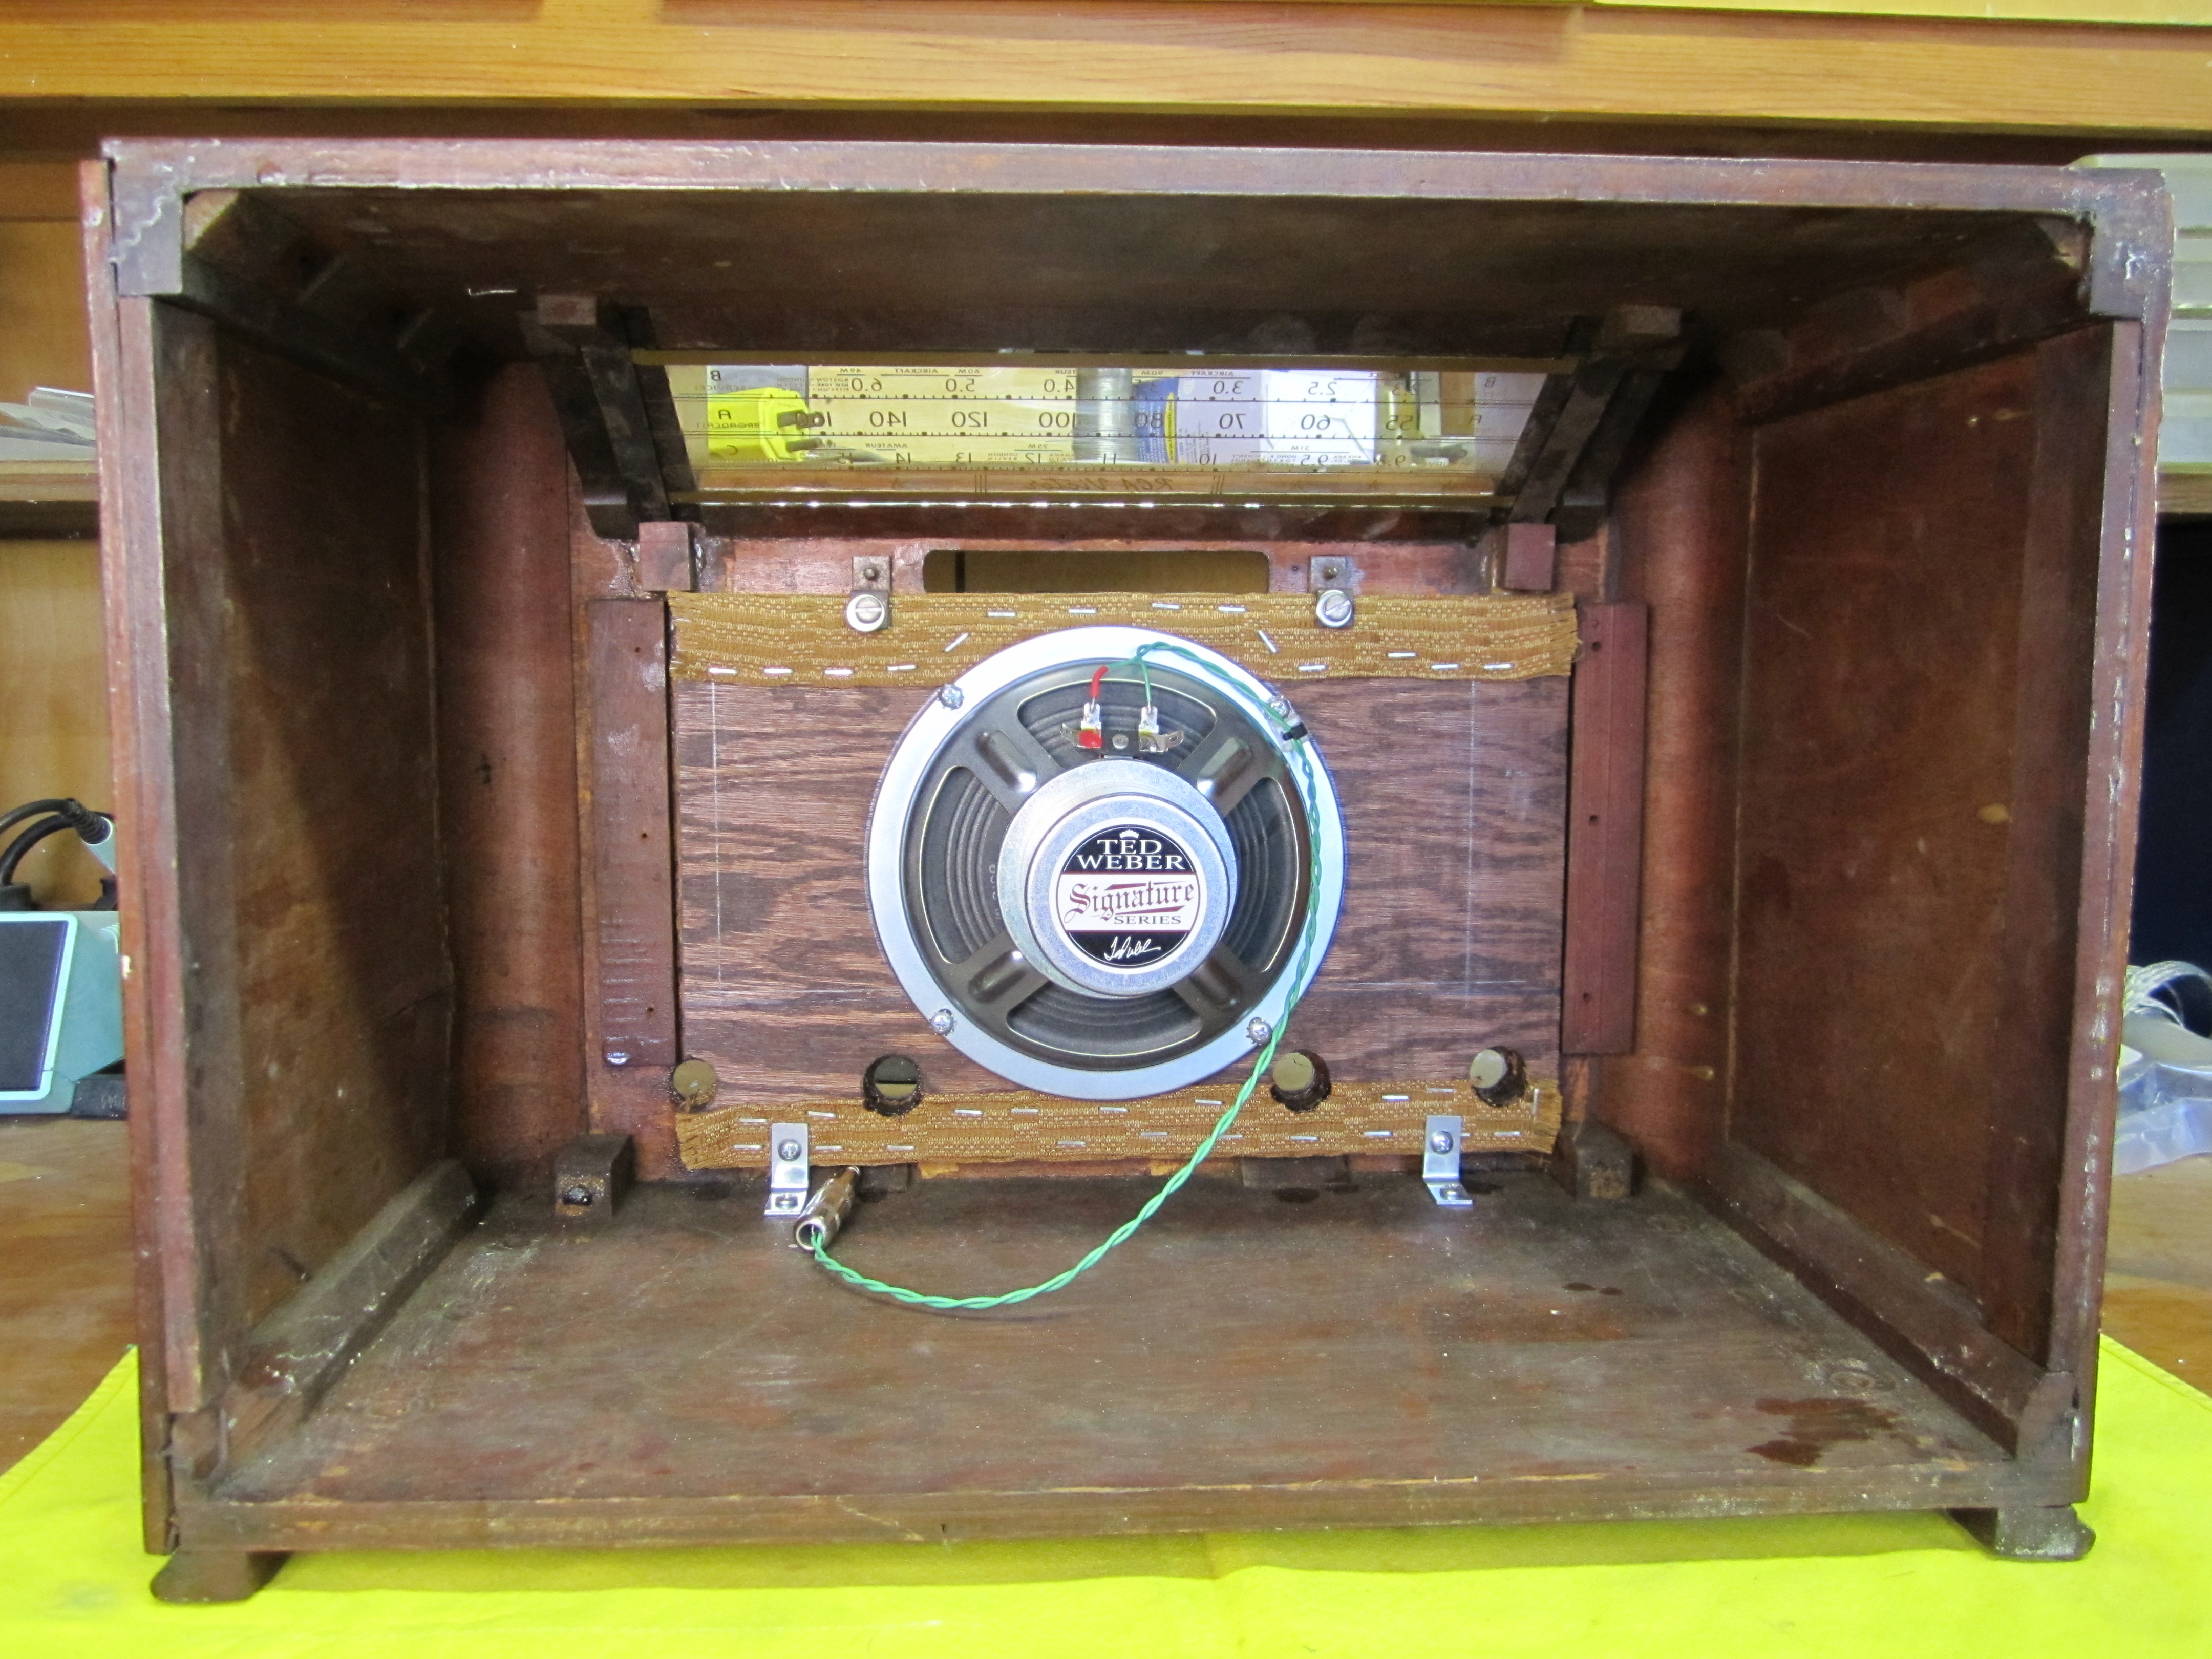
There is plenty of room inside this old
box but it still took some careful planning to fit the speaker. Horizontal
clearance was not a problem, but there's only about 1/2" vertical
clearance. The top was limited by the pushbutton assembly, the bottom was
limited by the controls, and the basket and magnet had to clear the chassis.
I really didn't expect the magnet to project as much as it did. There's only
1/4" clearance between it and the OT.
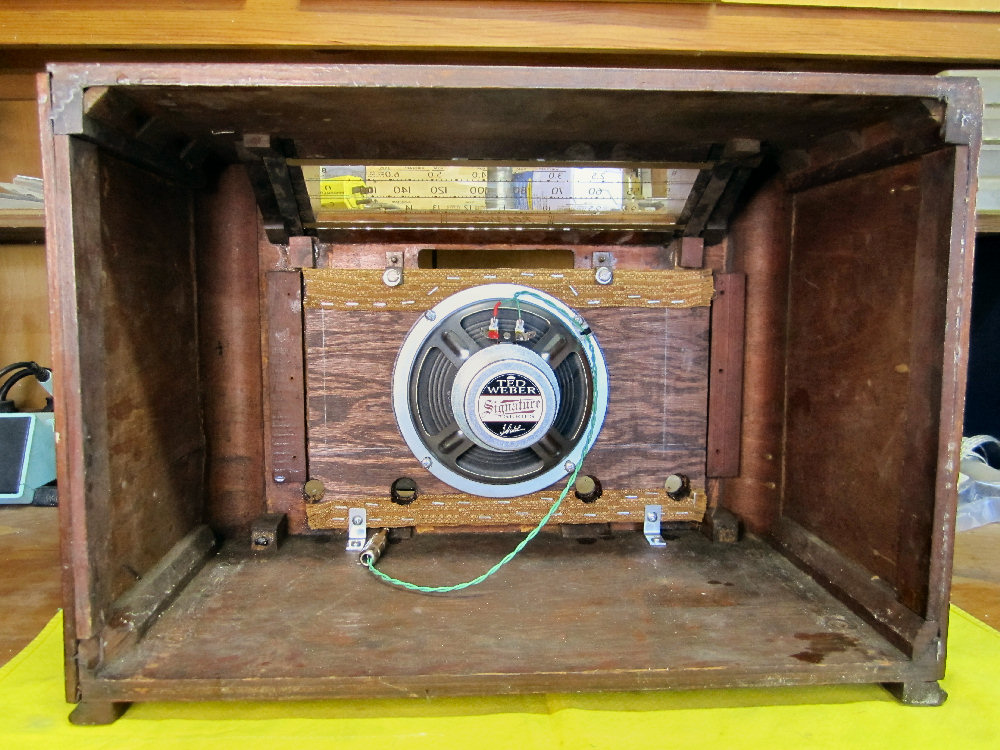
I really wanted a 6x9 speaker for this
since the baffle is rectangular and would accommodate it. But Weber is out
of stock and not likely to carry that size again. So I took a Signature 6
alnico and don't regret it. This speaker is perfect for the warm sound I
wanted and it's way louder than I'll ever need in the house.
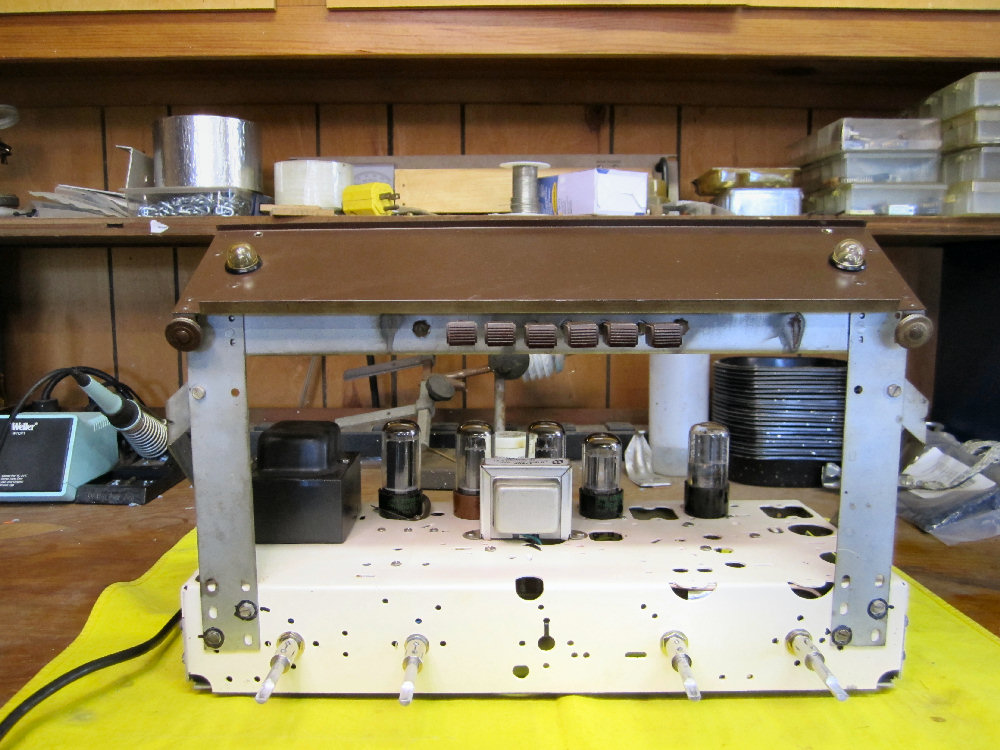
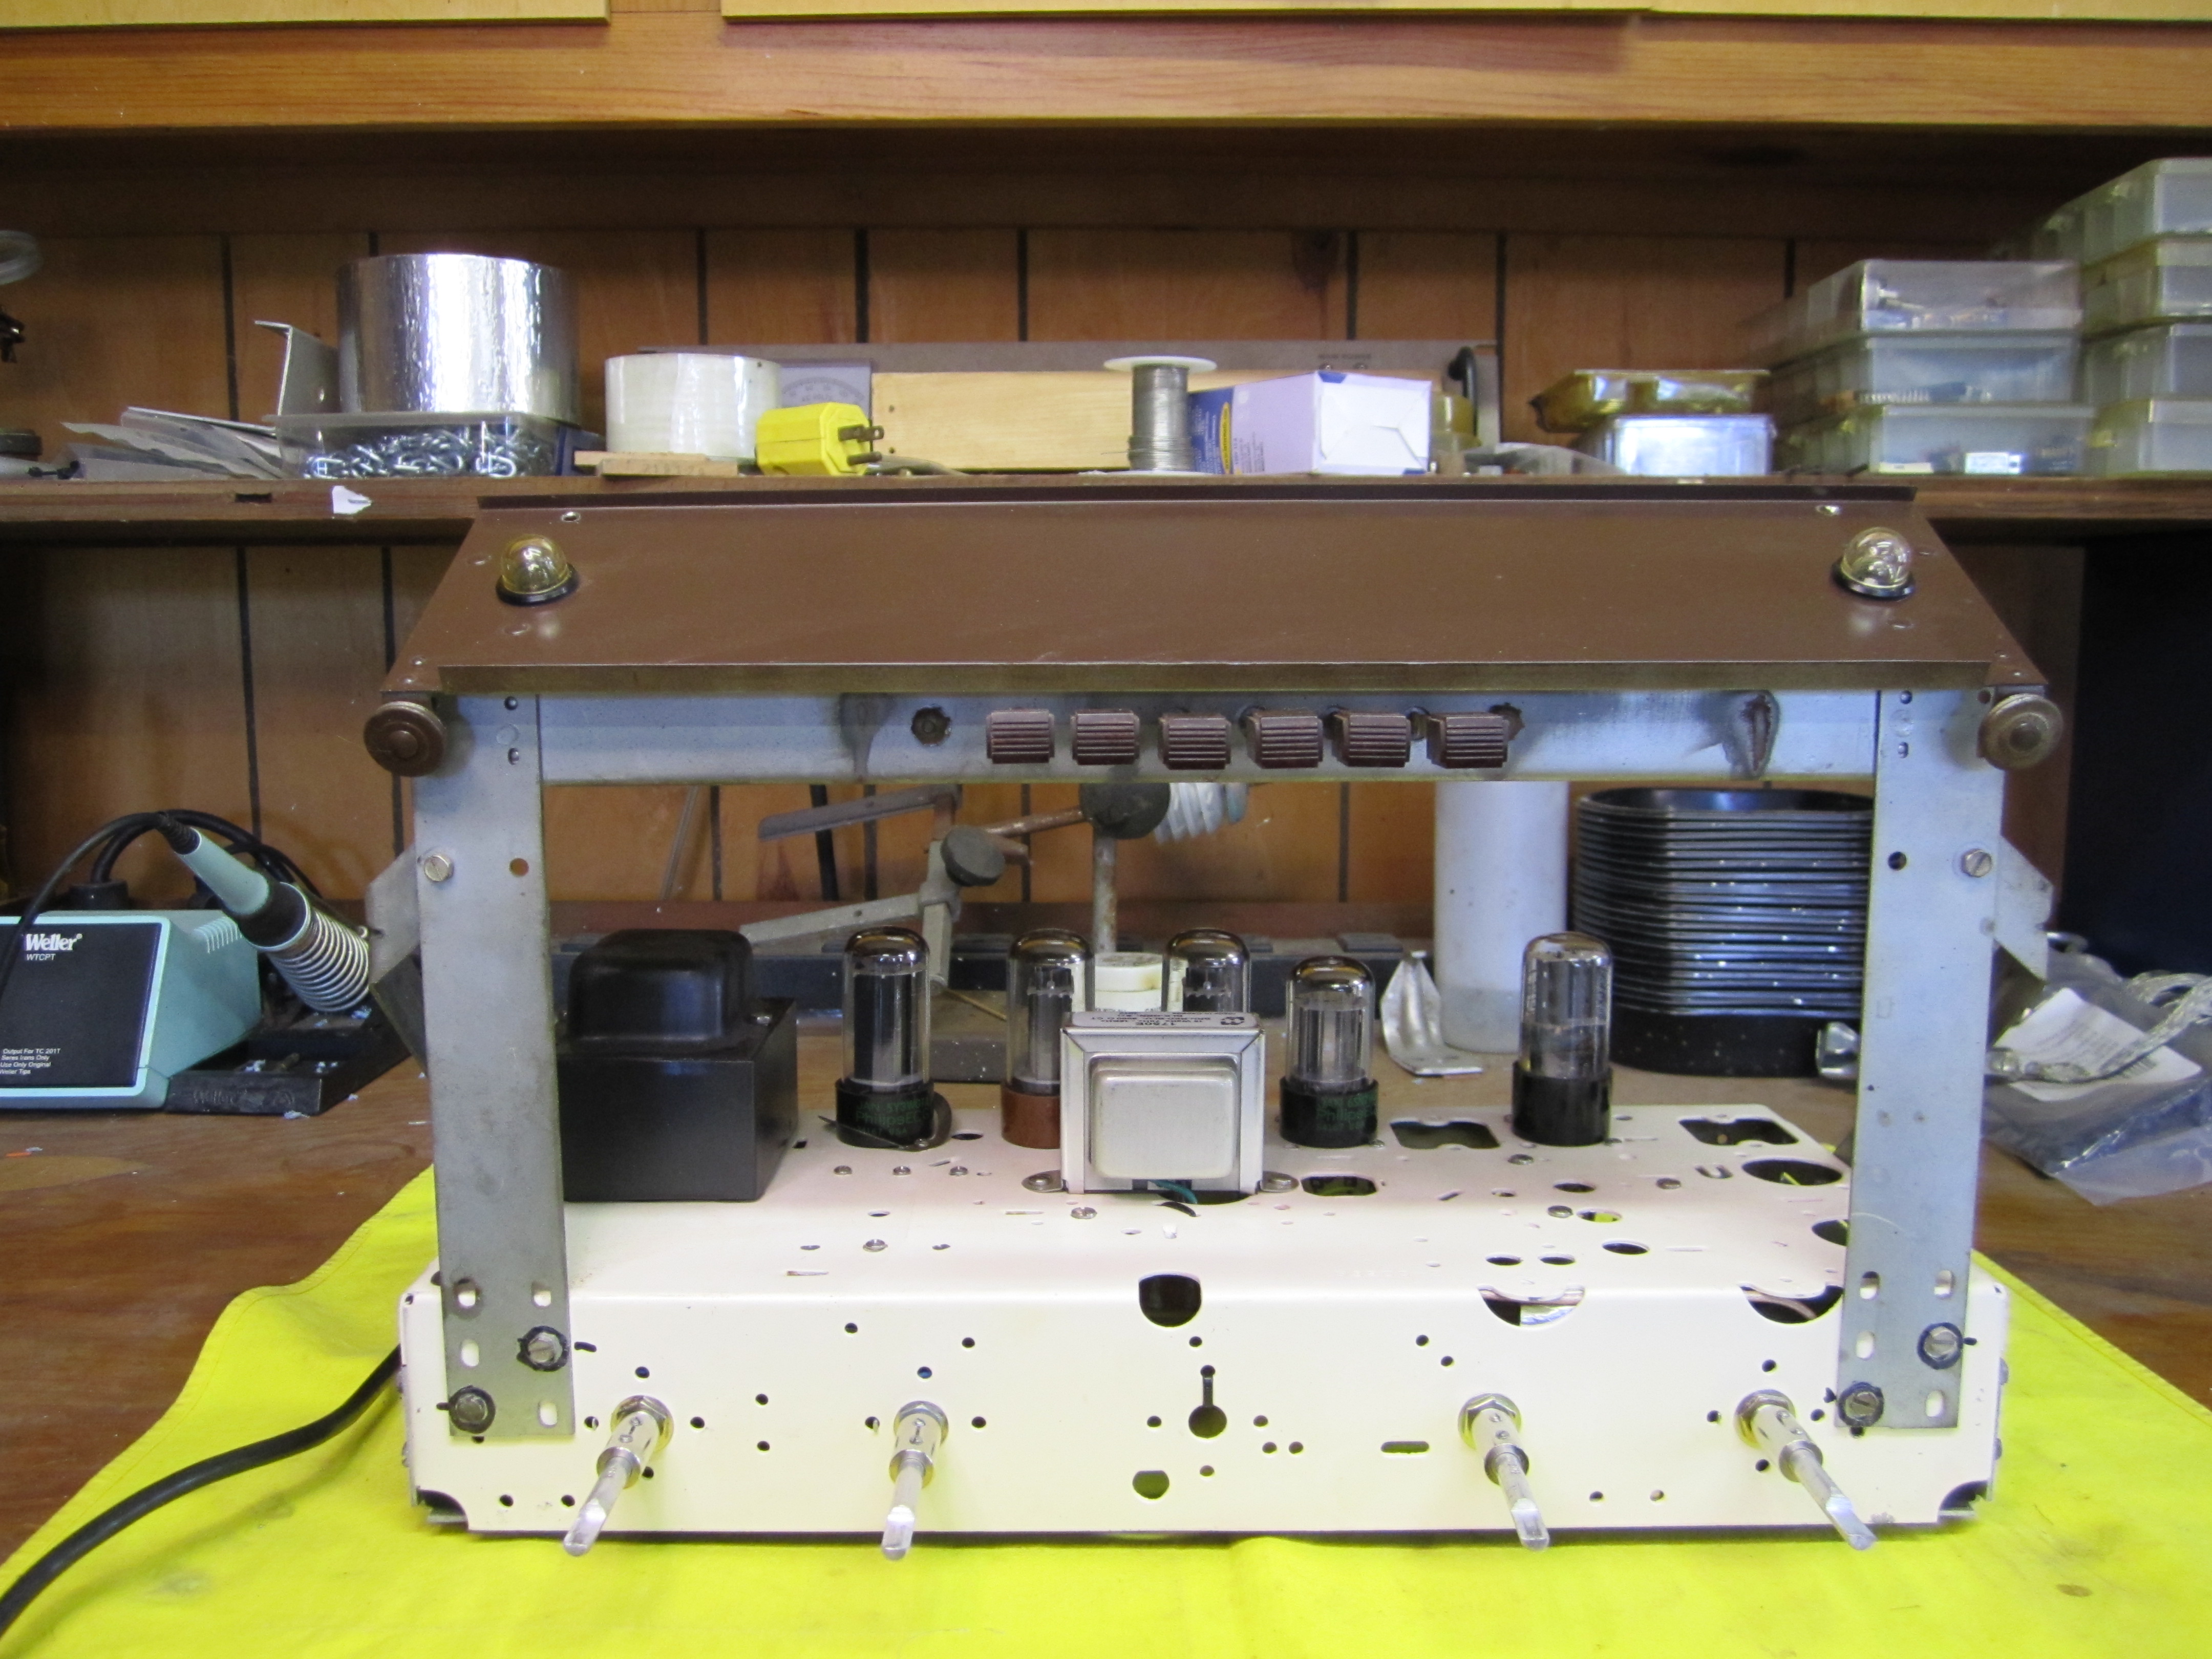
I gutted the entire chassis and then gave
the outside a couple coats of paint. I left the dial light and push button
assembly just to retain the radio look. I lengthened the Alpha pot shafts by
using some 1/4" couplers and a 1/4" aluminum rod.
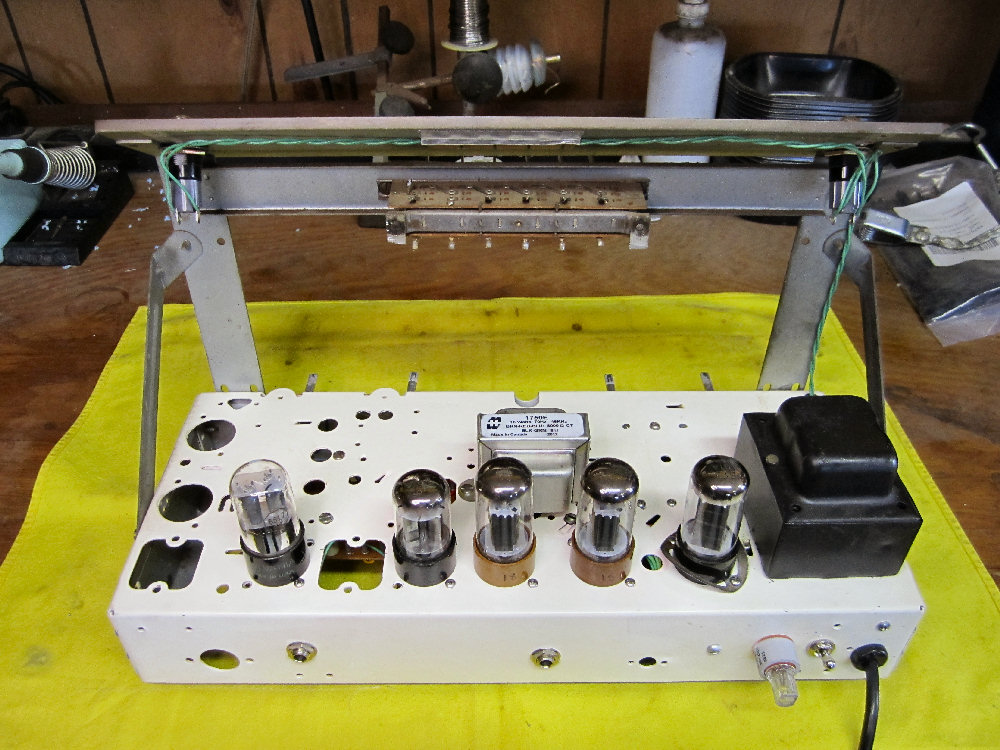
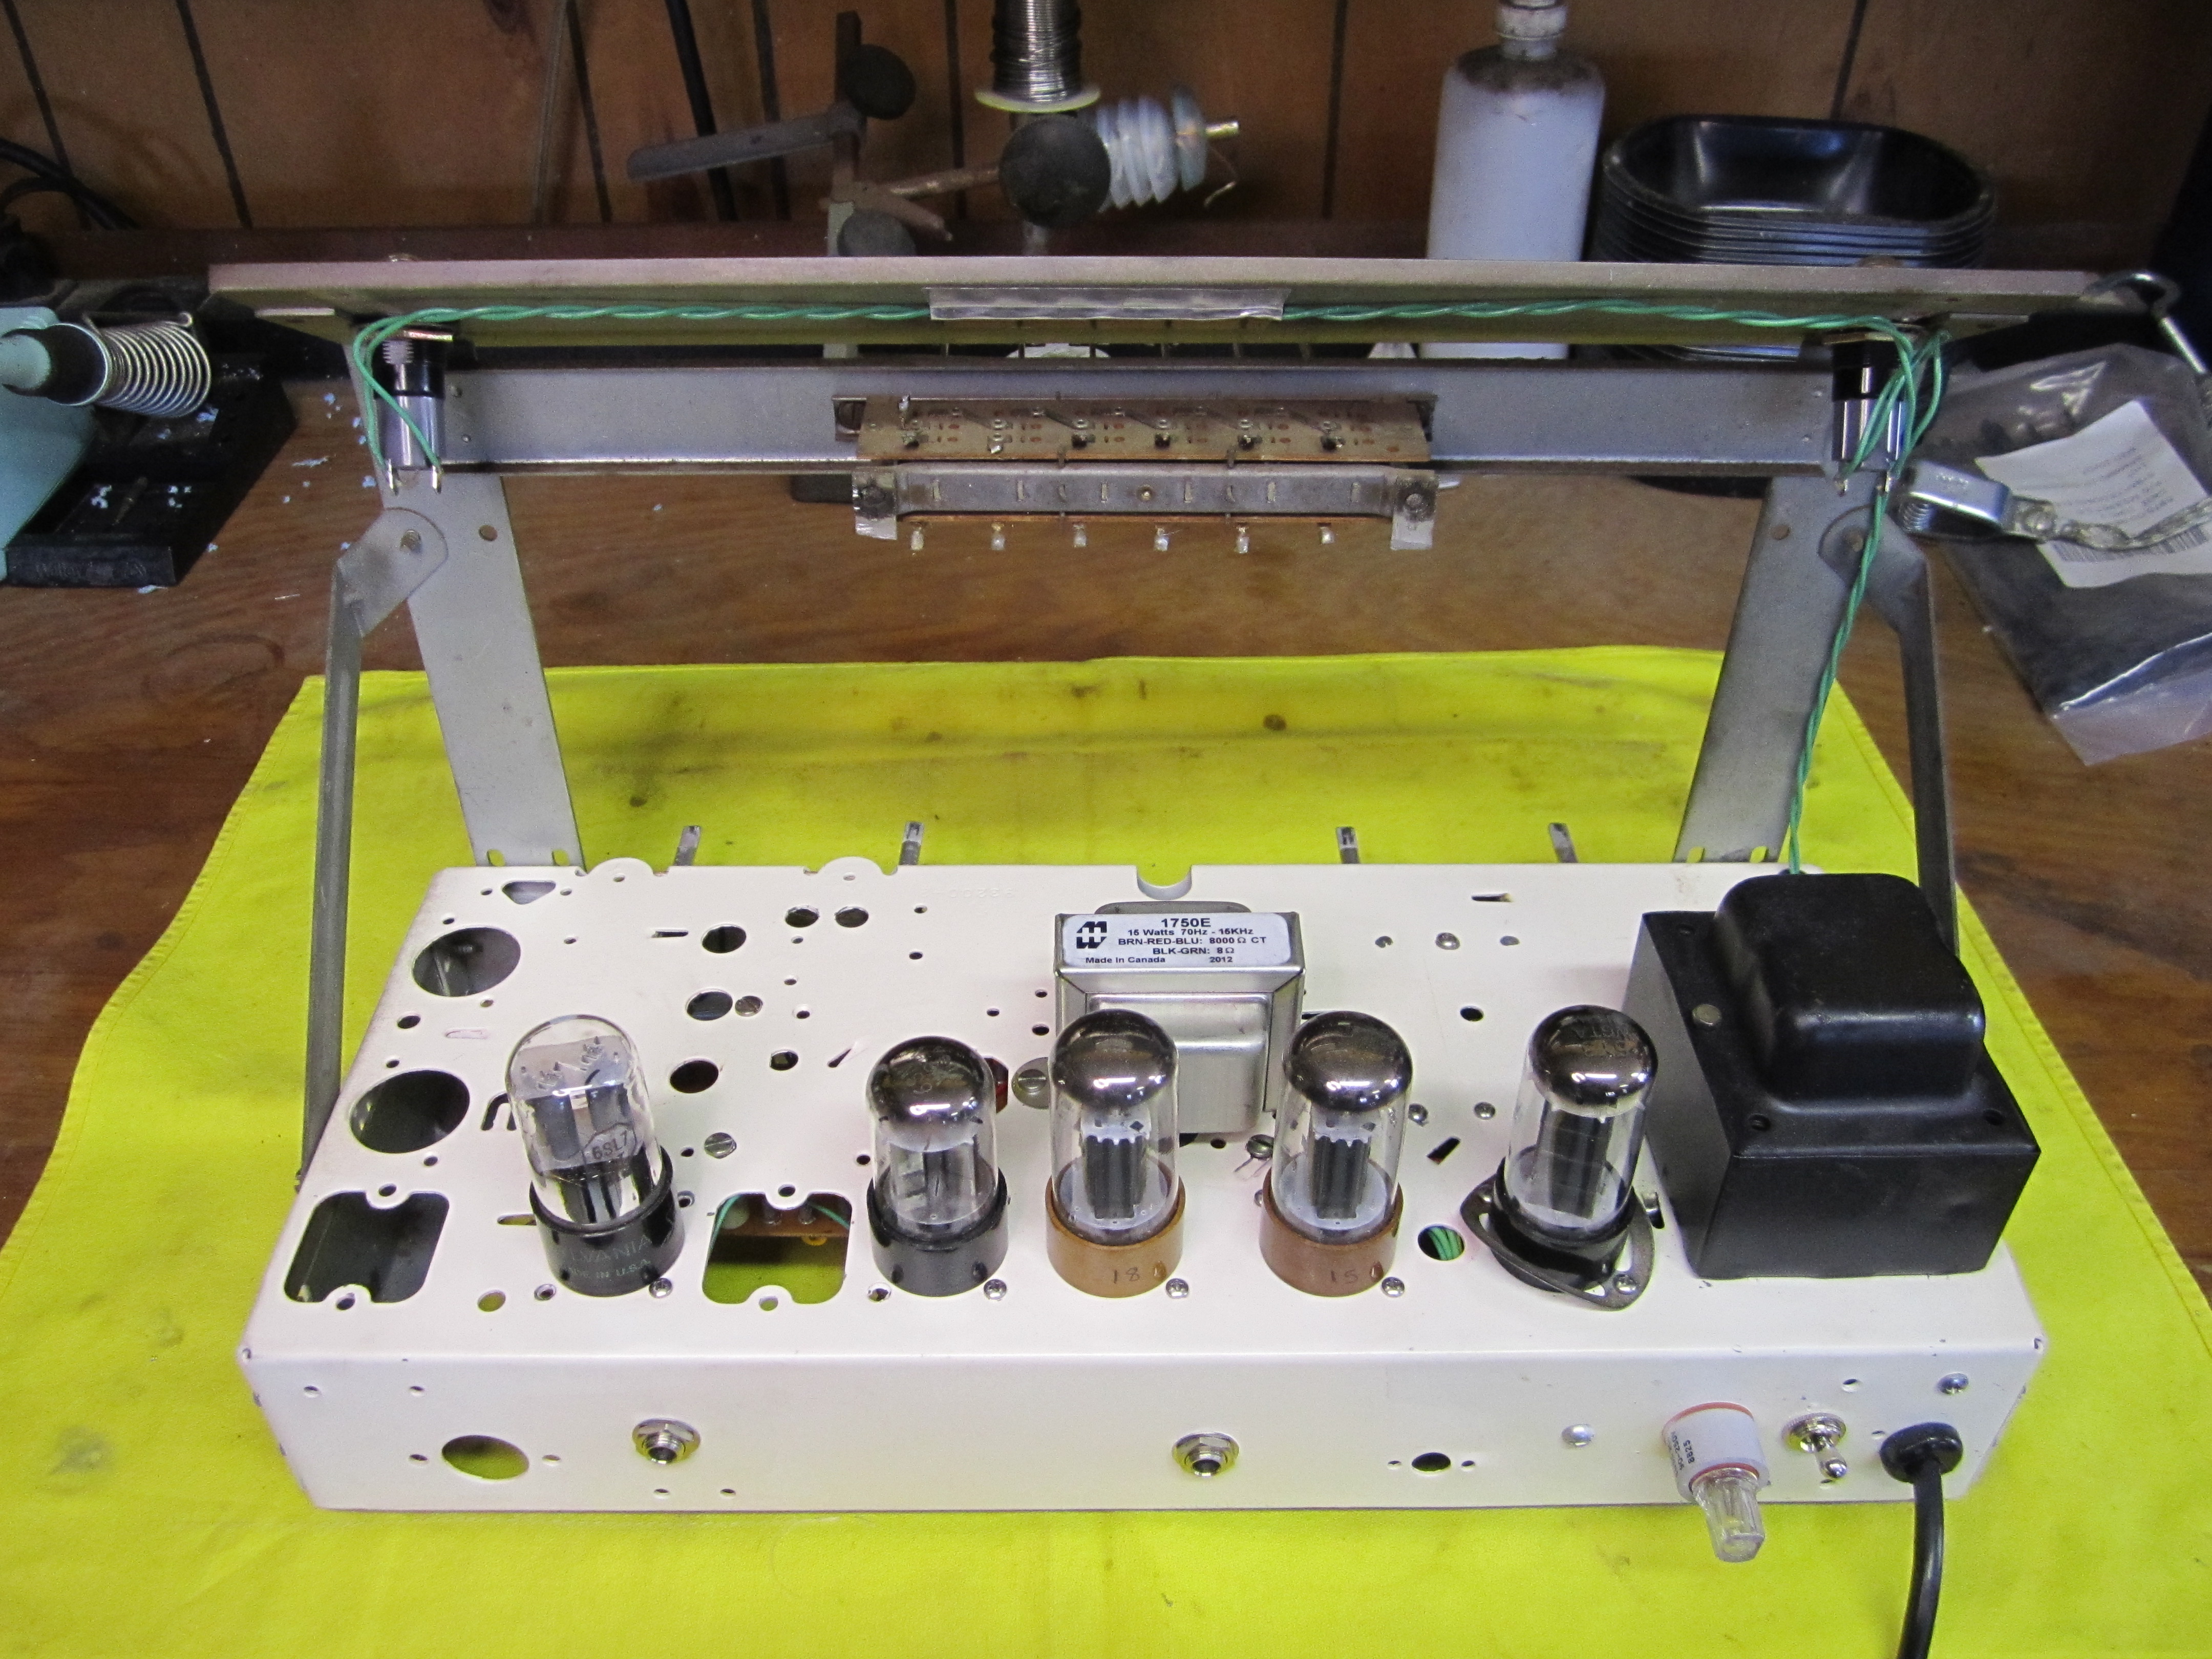
I decided to leave all the chassis
cutouts just to remind me that this was once a radio. Actually, the chassis
size and layout accommodates a small guitar amp very well. I would have used
a very similar layout even if I had built this amp on a blank chassis. Those
old 6V6s have a slight purple glow that looks cool when modulated by the
tremolo.
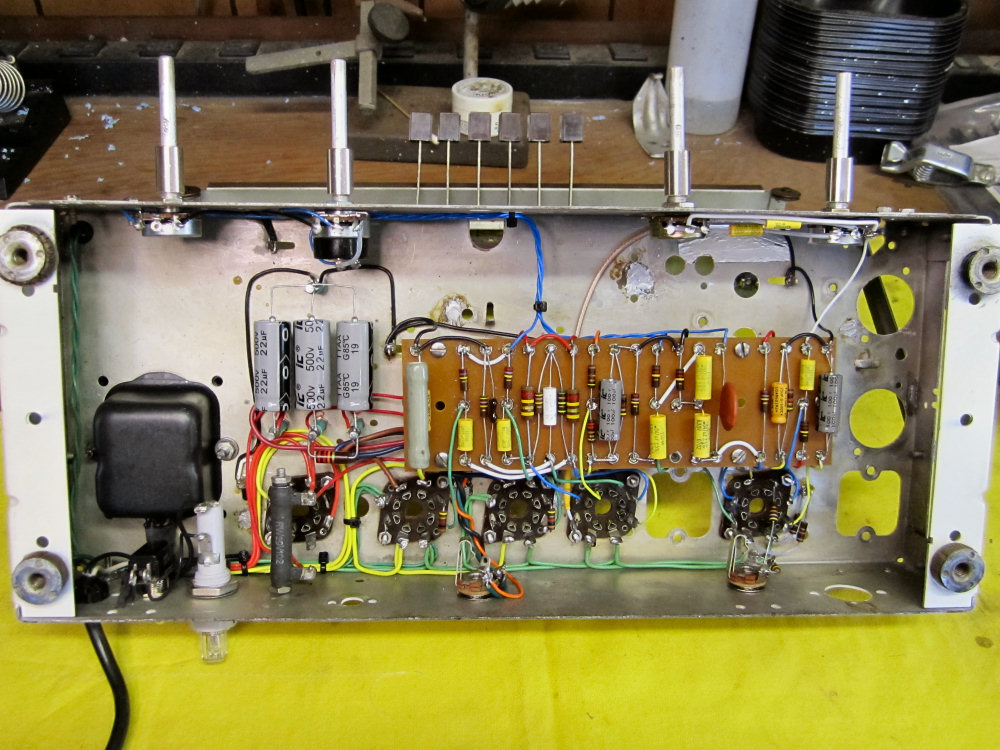
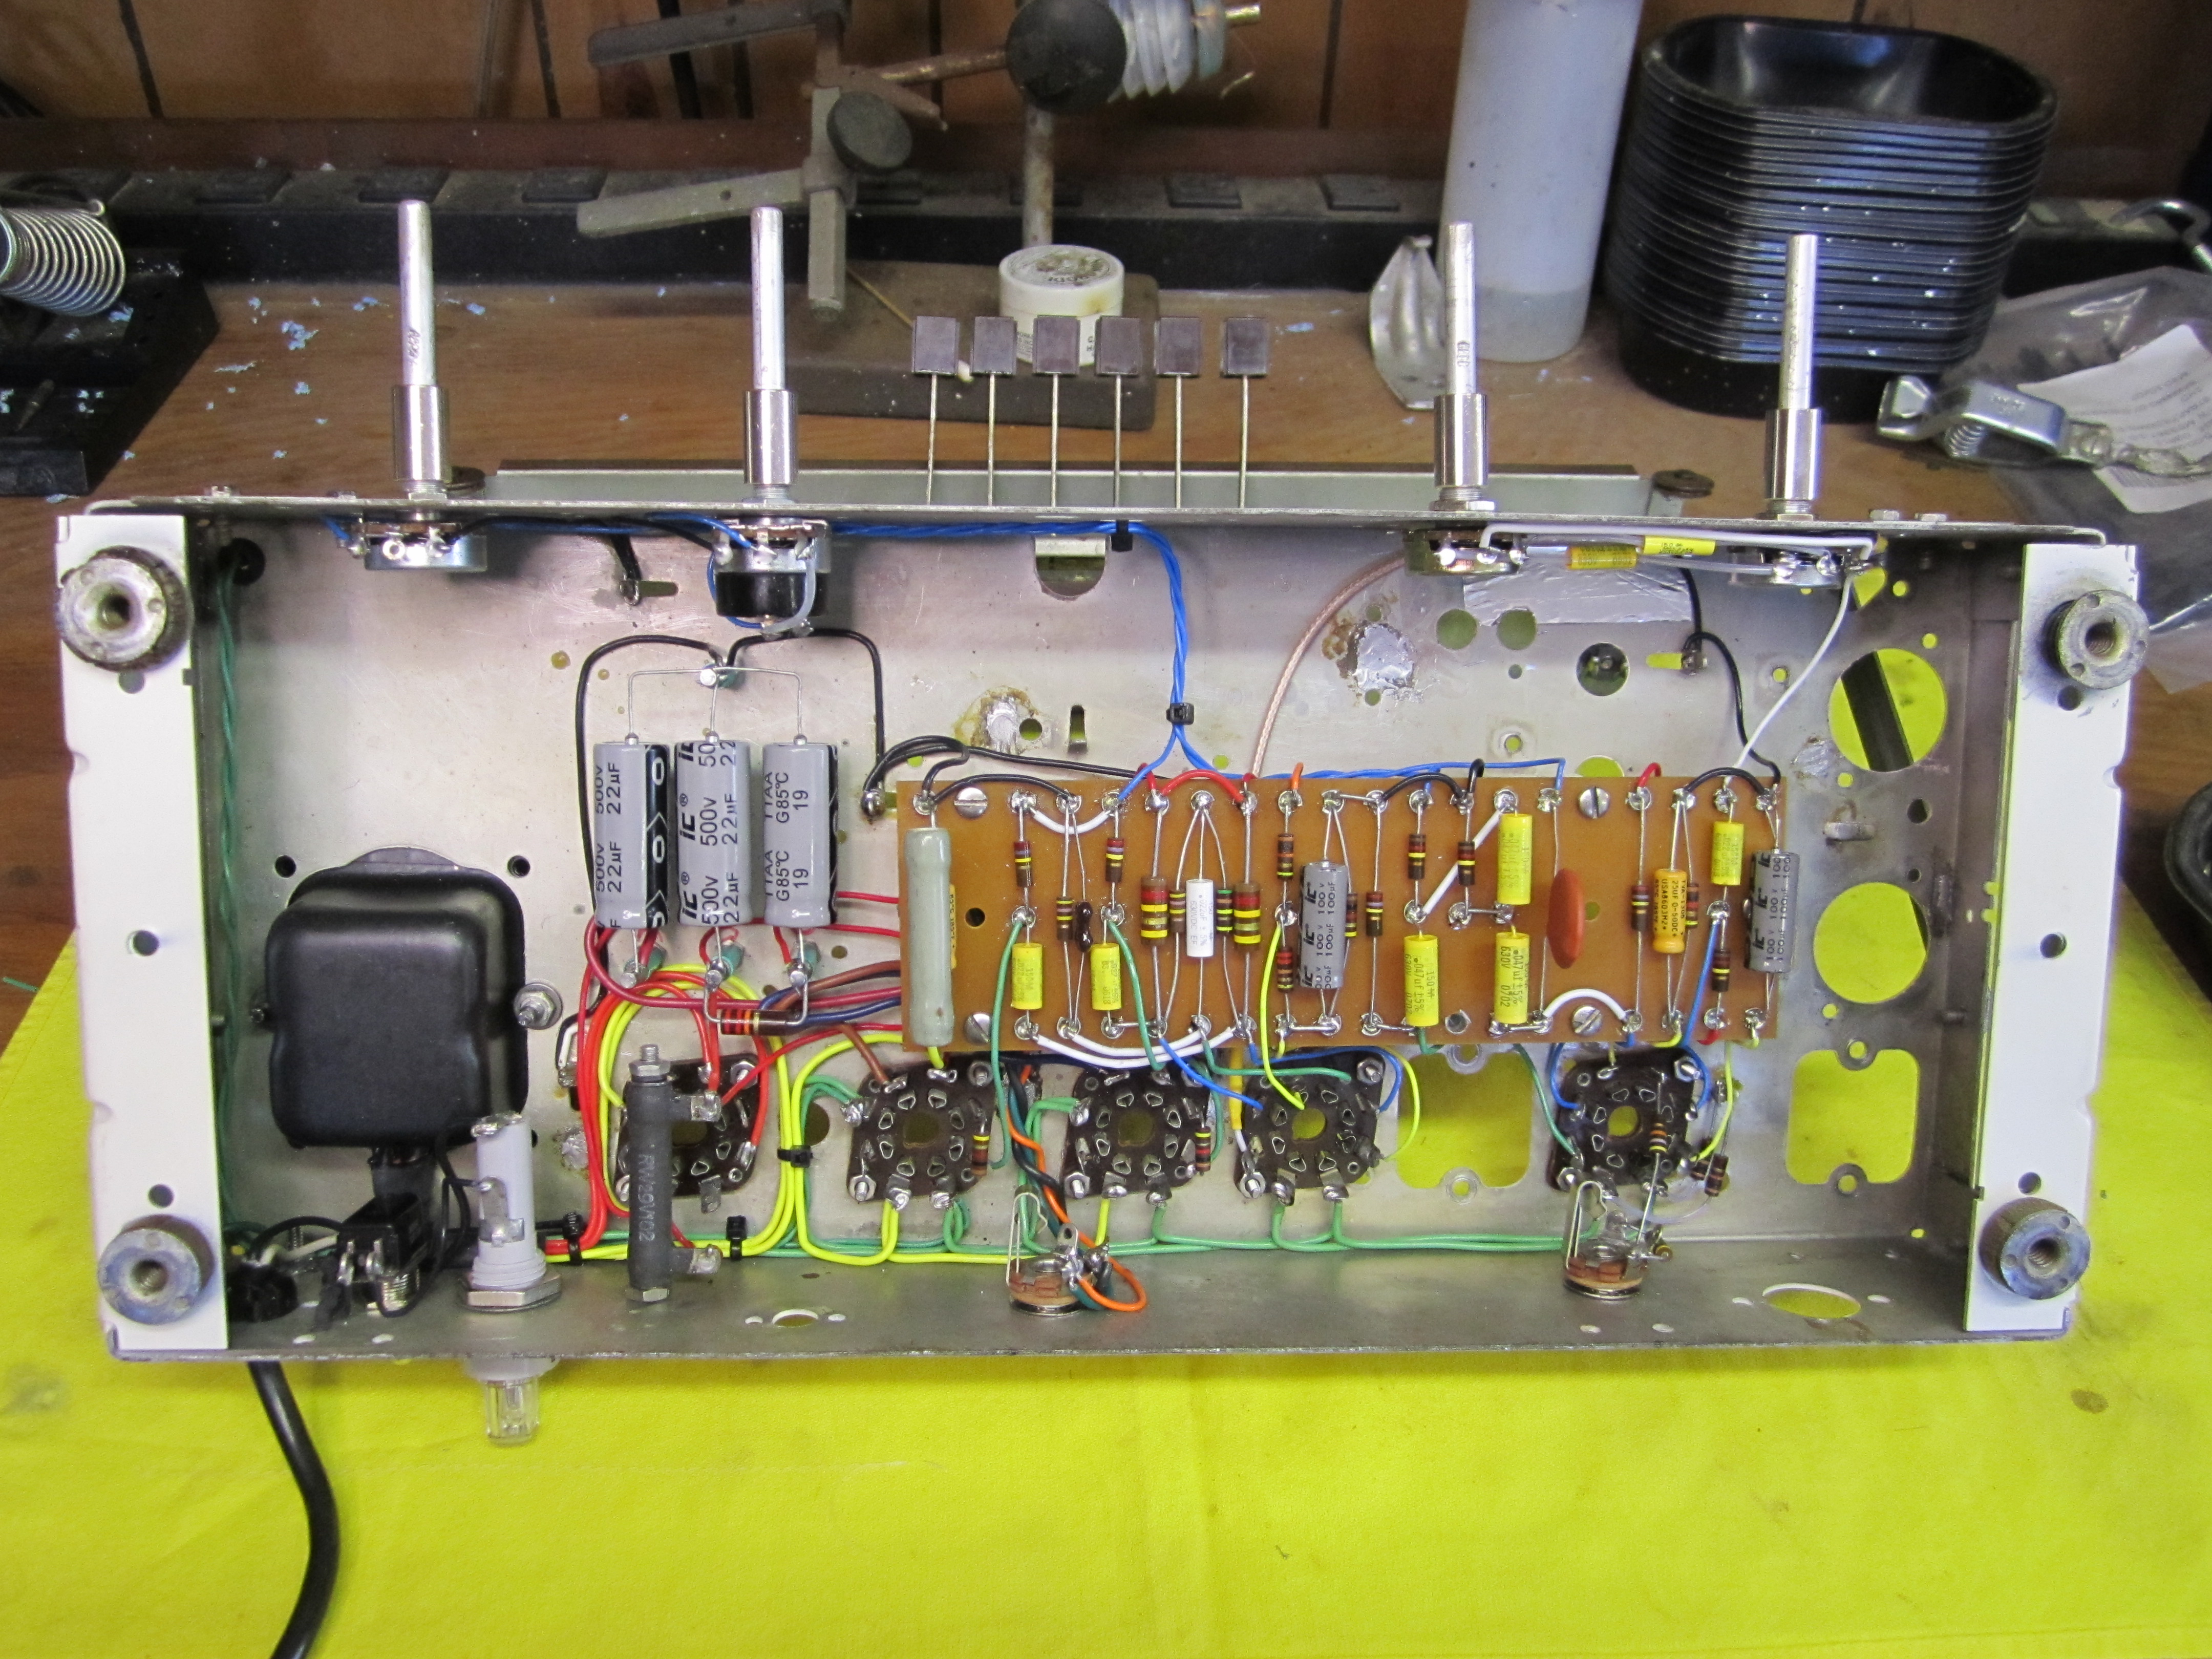
The ample size of the chassis made
working under the hood a breeze. Most of the components fit nicely on the
cone board I ripped from a Hammond AO-41 vibrato unit during my Warbler
project. I don't like cone boards, but I didn't want to build a turret
board. The chassis has several 'tangs' punched in very convenient locations.
Just bend the tangs up and you have an excellent ground point for soldering.
This pic shows the fabricated shaft extensions better. Oh yeah, these tube
sockets are a real POS. I didn't realize just how bad they were until the
amp was completed. It took as long to clean them as it would have to replace
them. I'm sure I'll have to revisit them at some later date.
Download the Ampeg Jet J12B schematic and
my board layout
in a single PDF. Ampeg_J12B.pdf, 292KB
Return to Index
|